Set up an Identity Service Engine (ISE) for TACACS+
Declare RADKit as a Network Device
A Network Device needs to be declared on ISE to authorize RADKit Service to place TACACS+ requests.
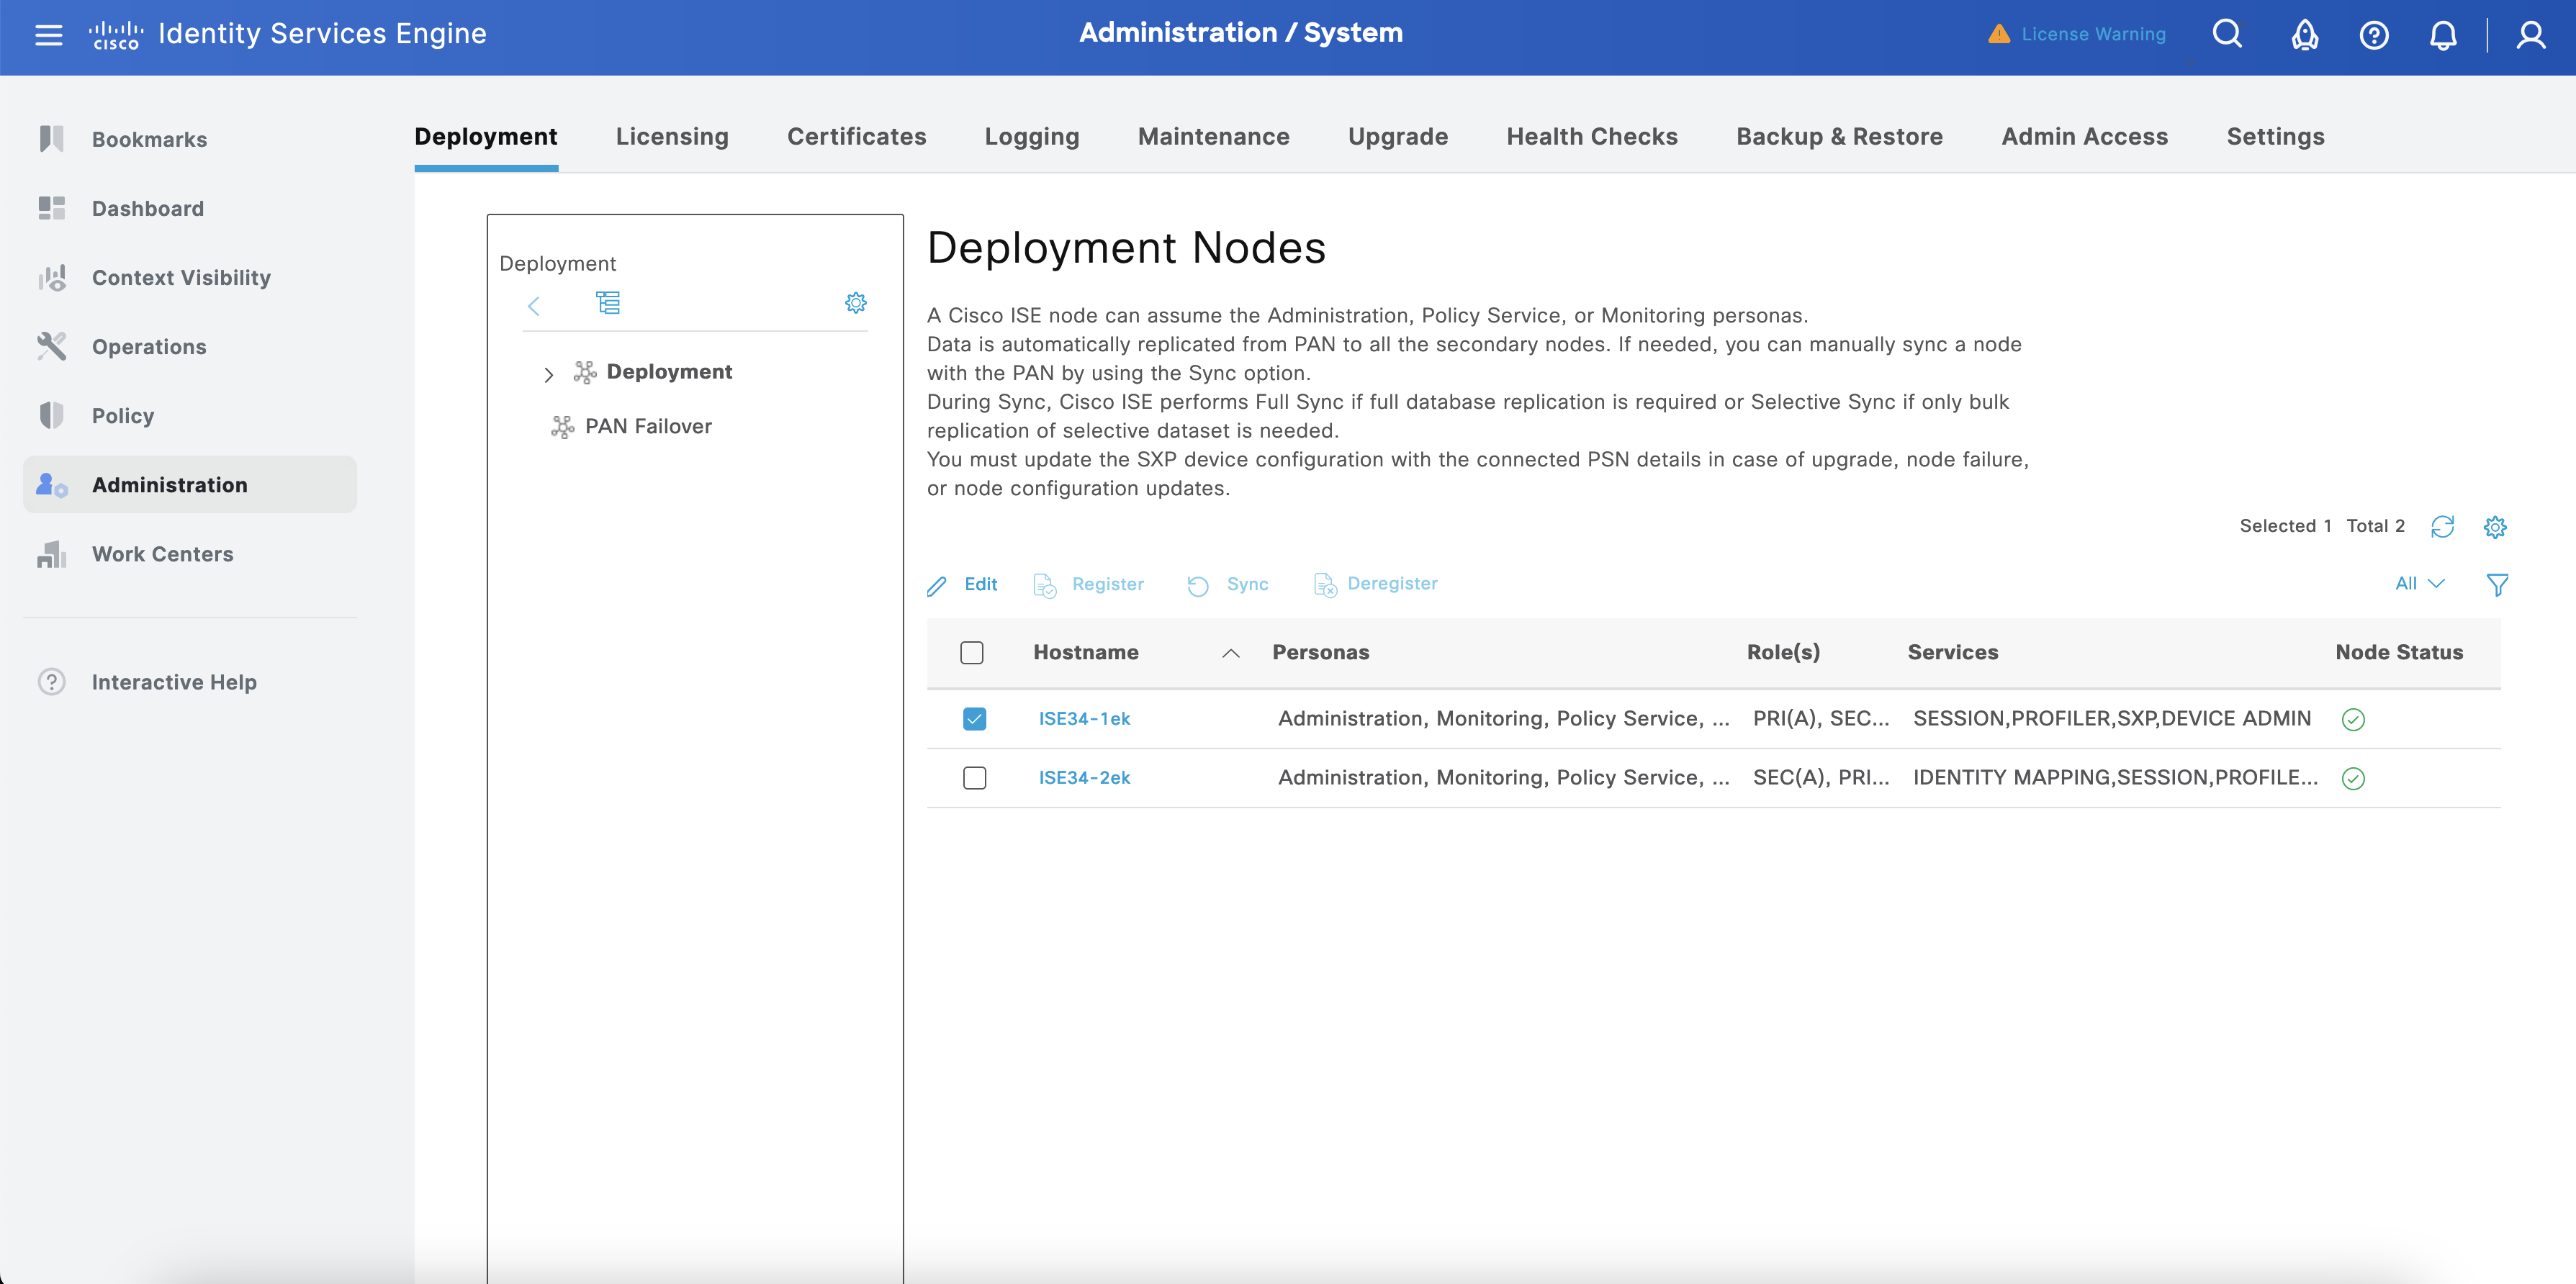
On ISE, navigate to Administration > System > Deployment. Select the ISE server and click Edit.
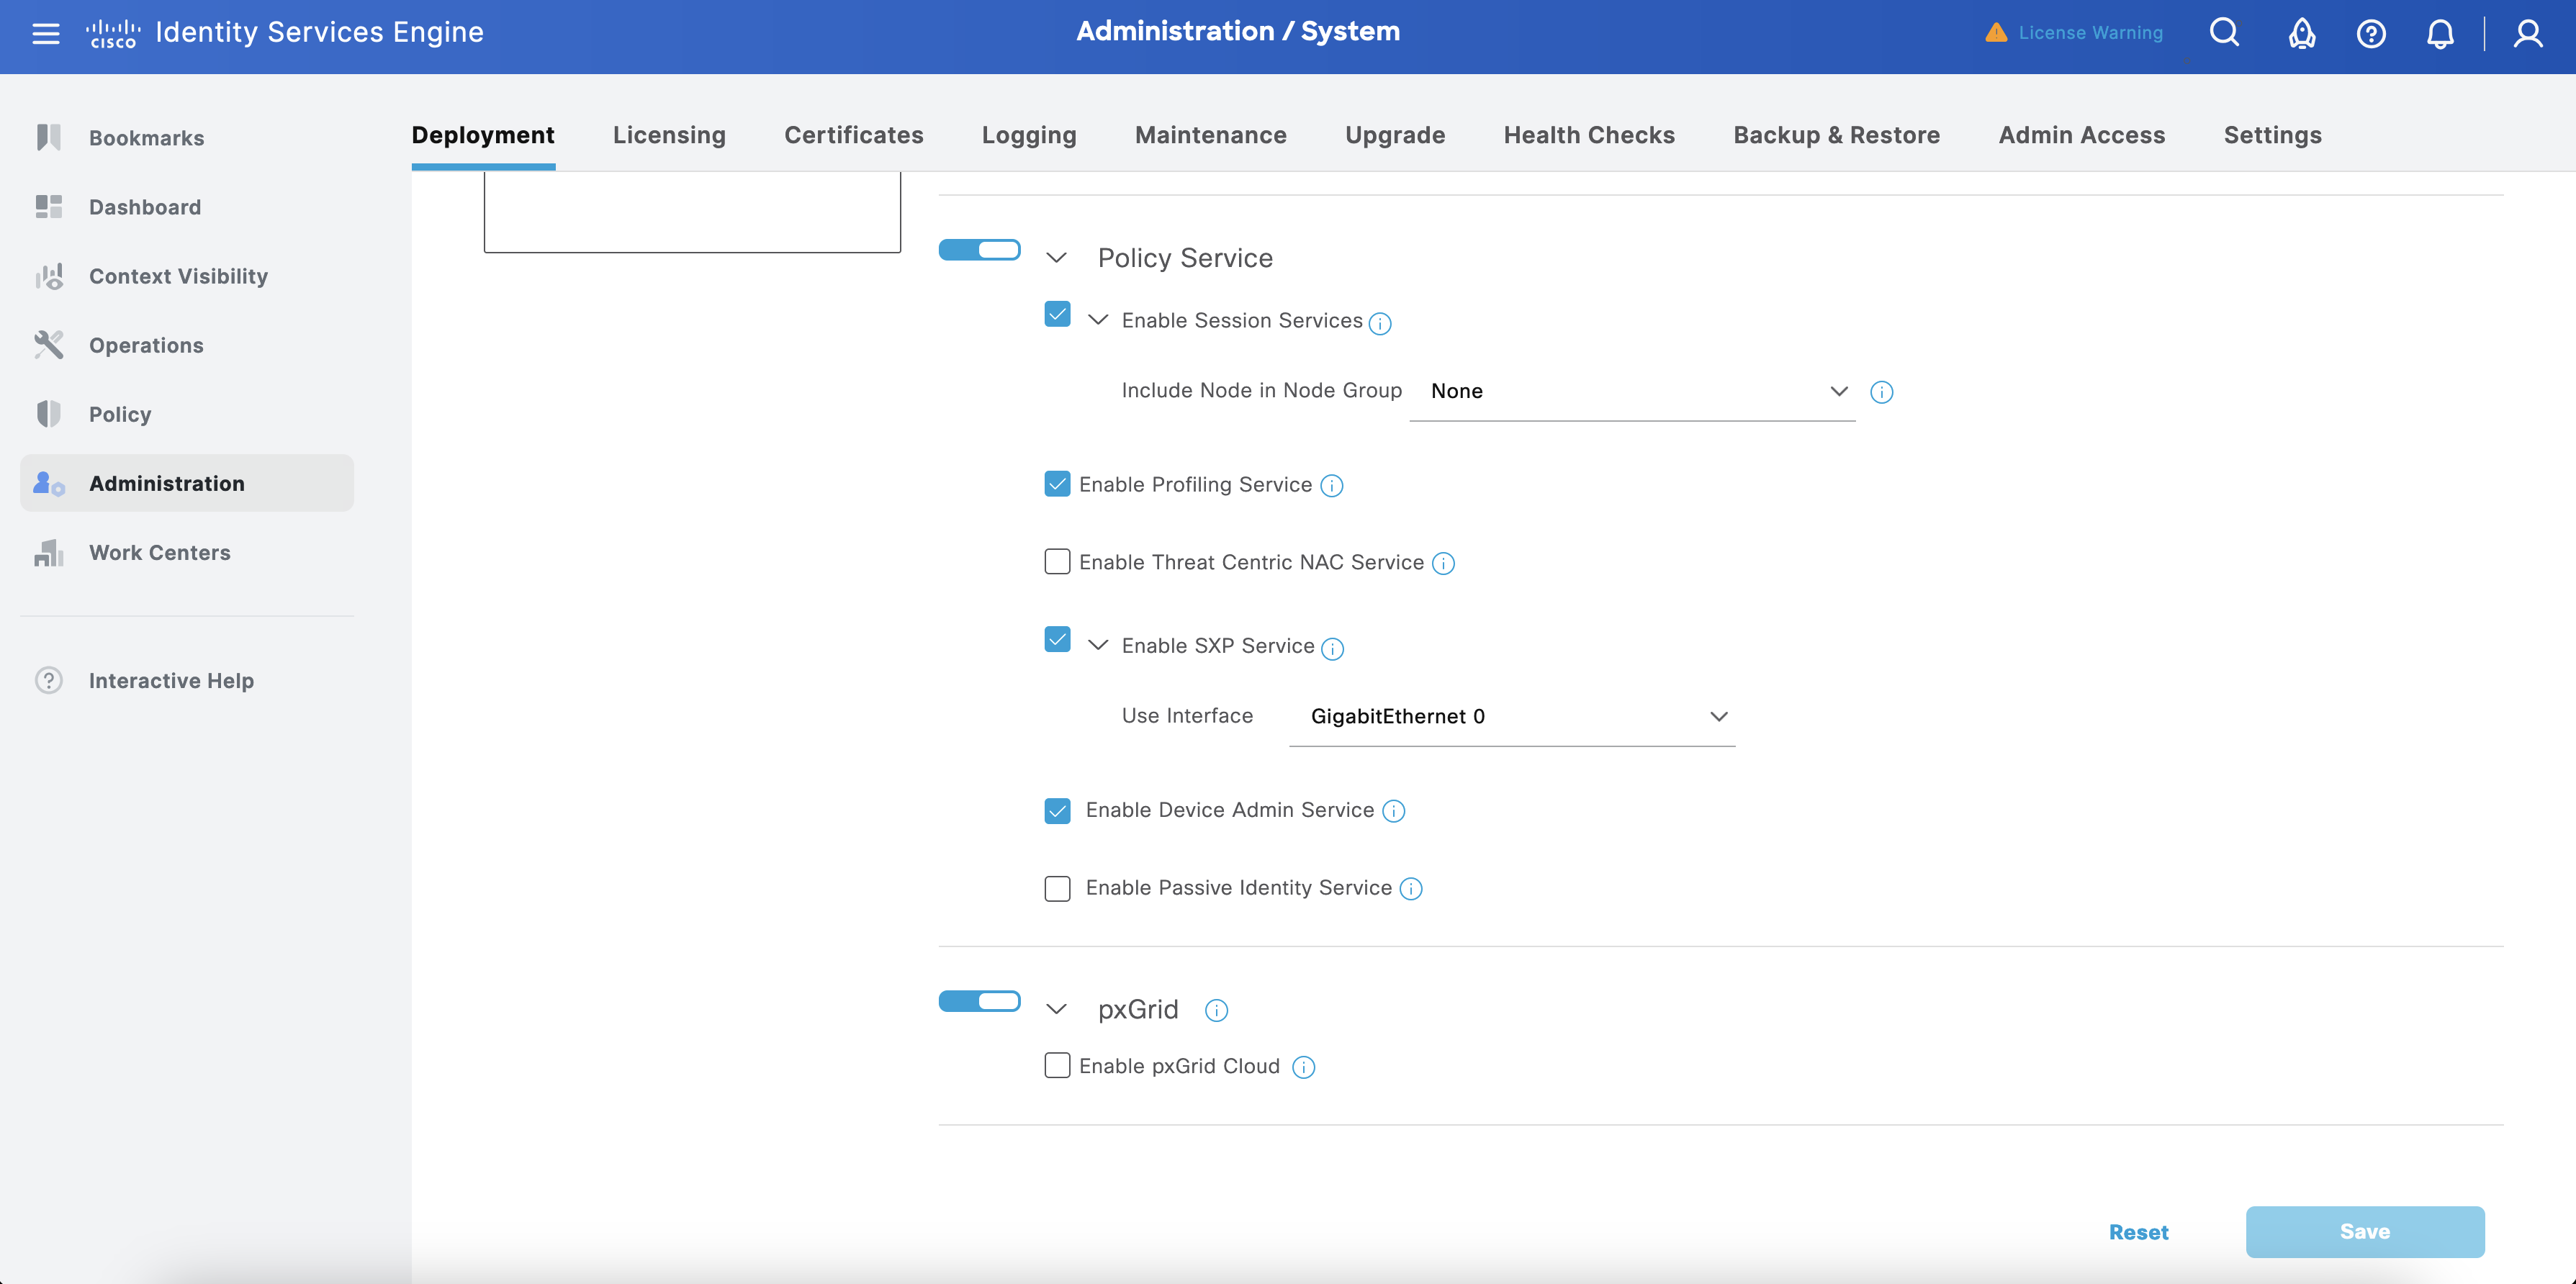
Enable Device Admin Service and click Save.
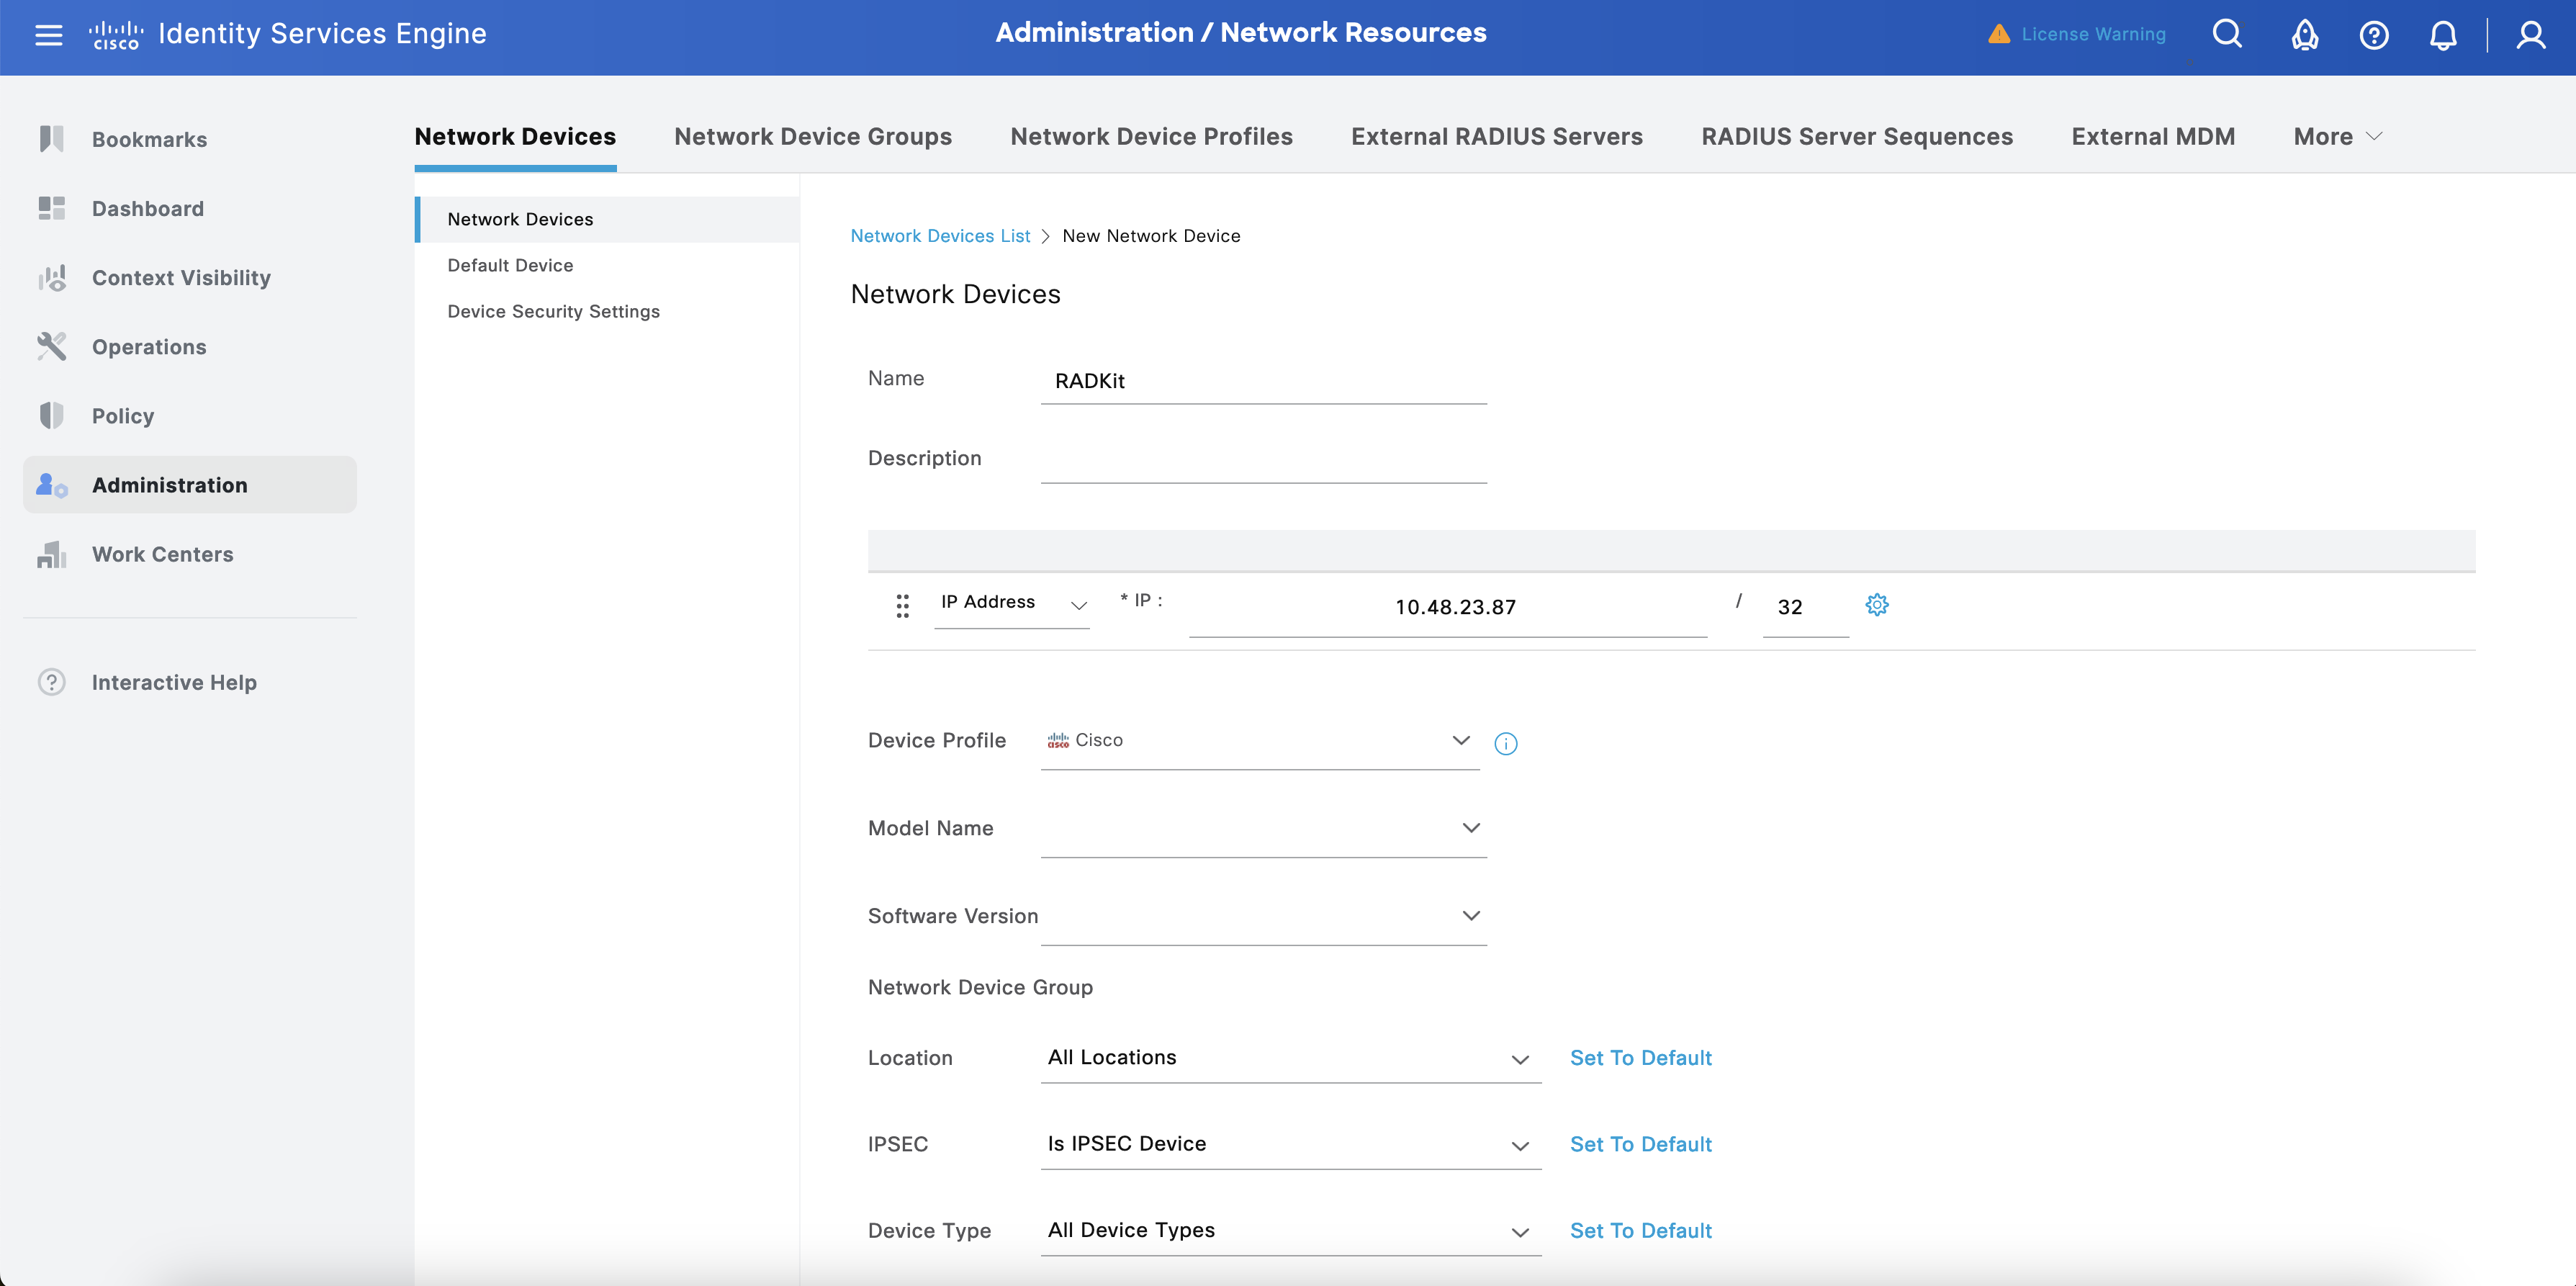
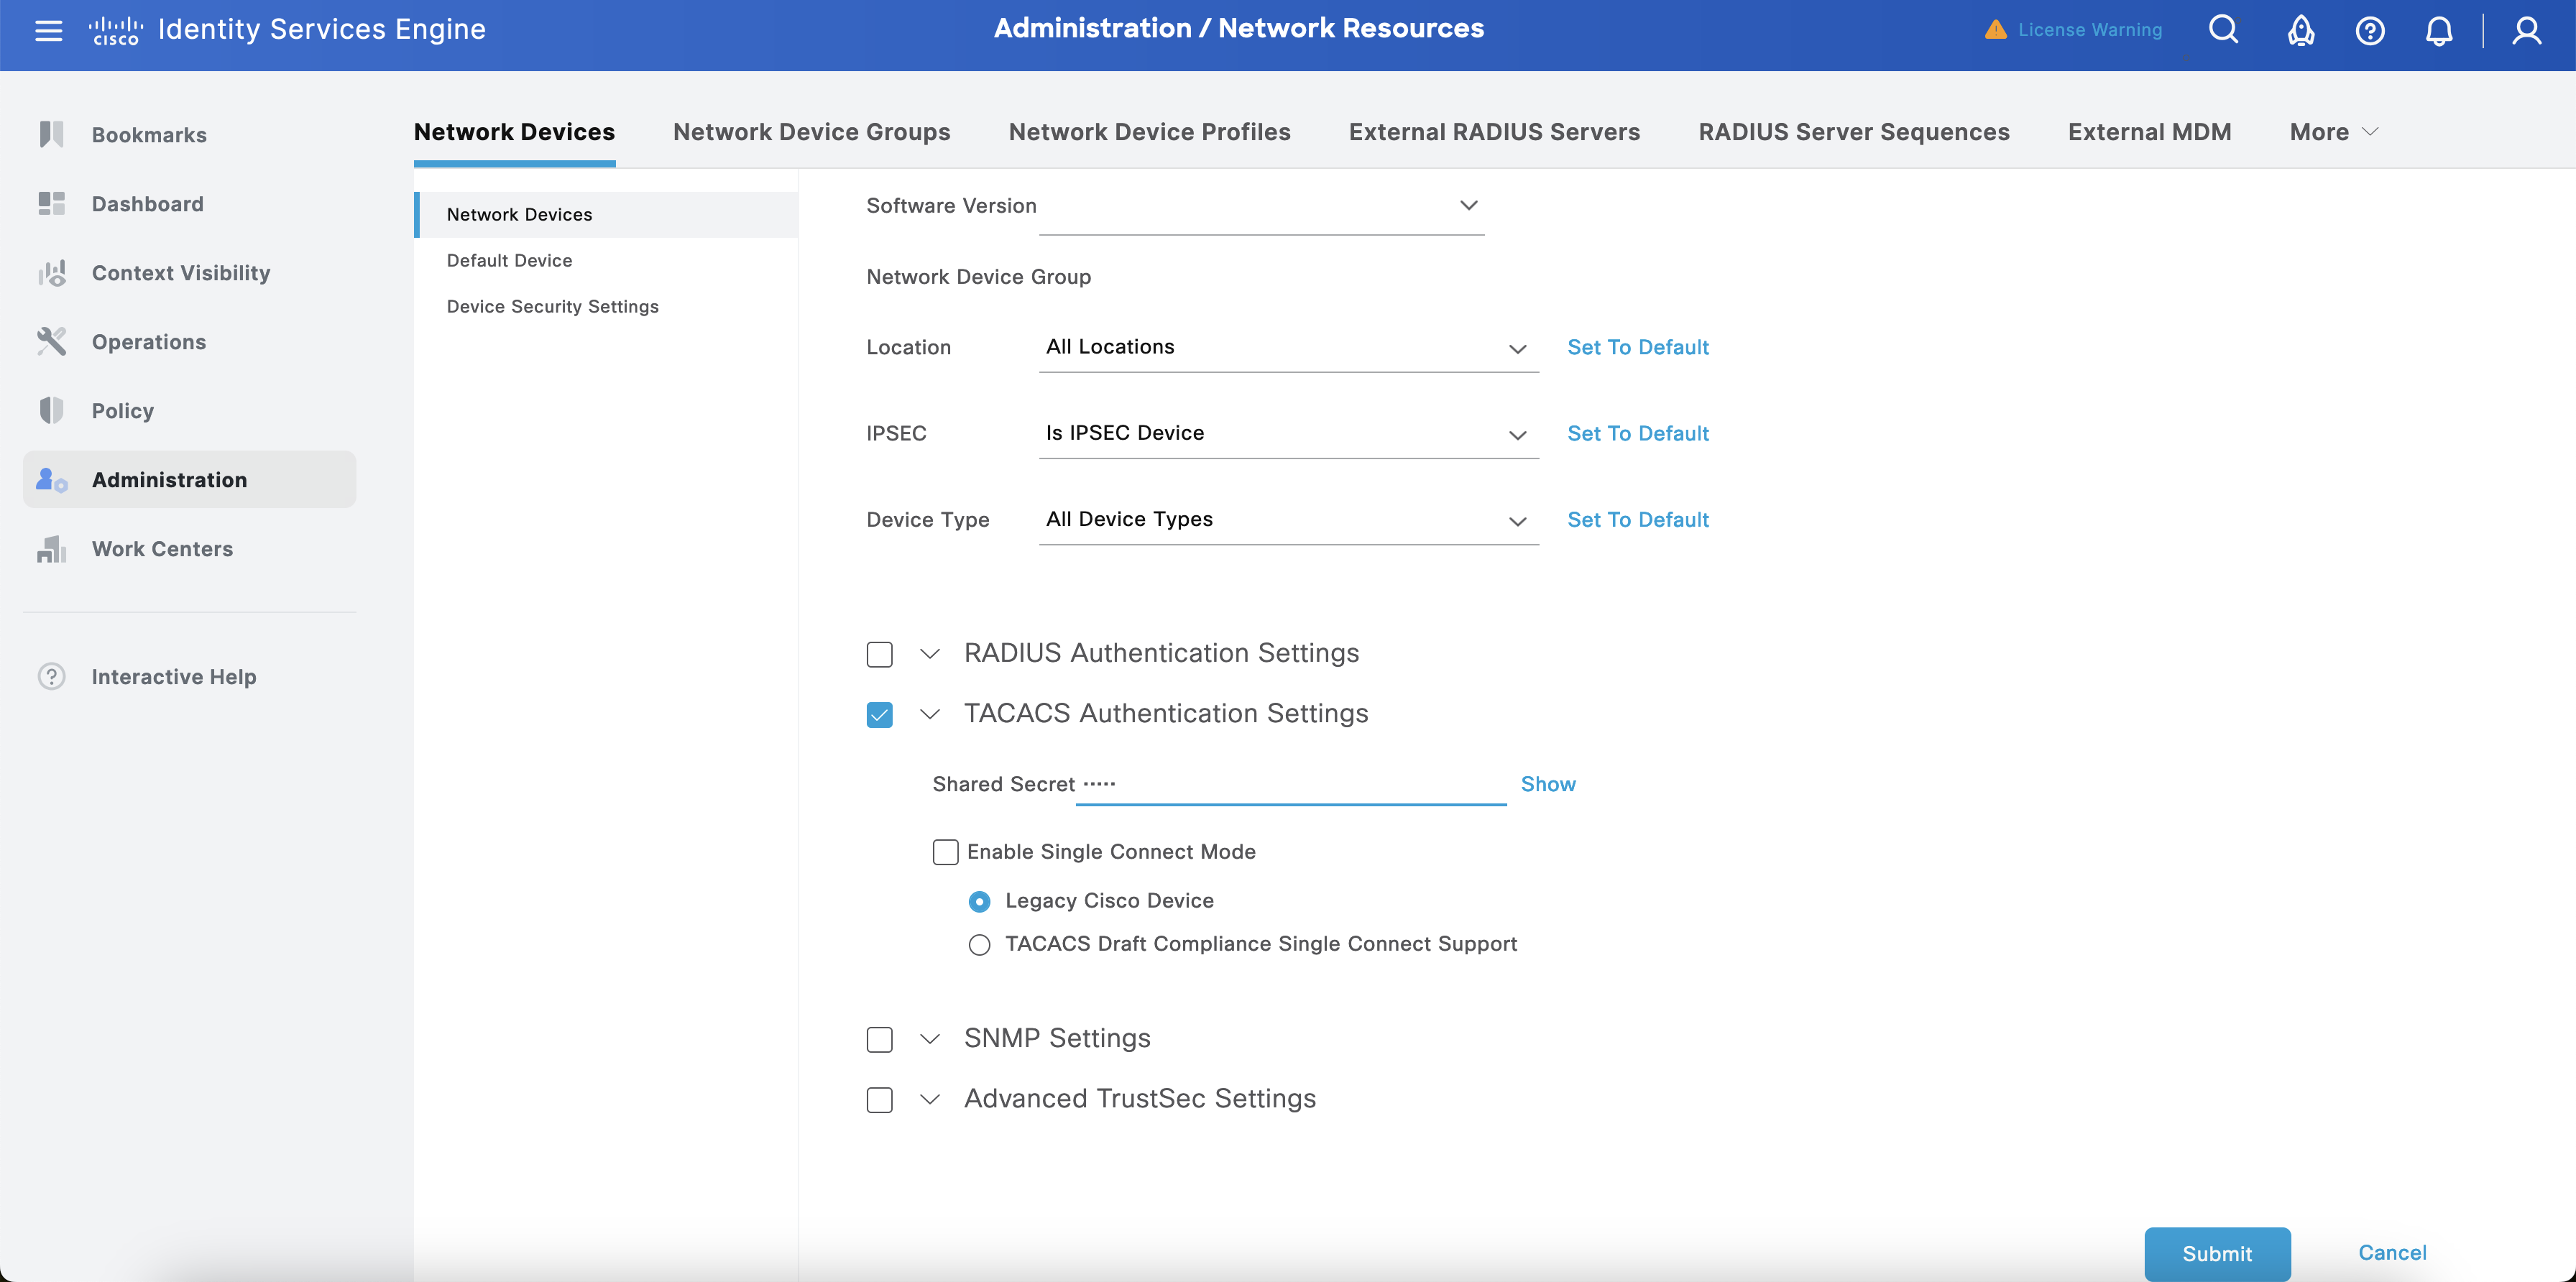
Now add RADKit as an ISE Network Device. Navigate to Administration > Network Resources > Network Device.
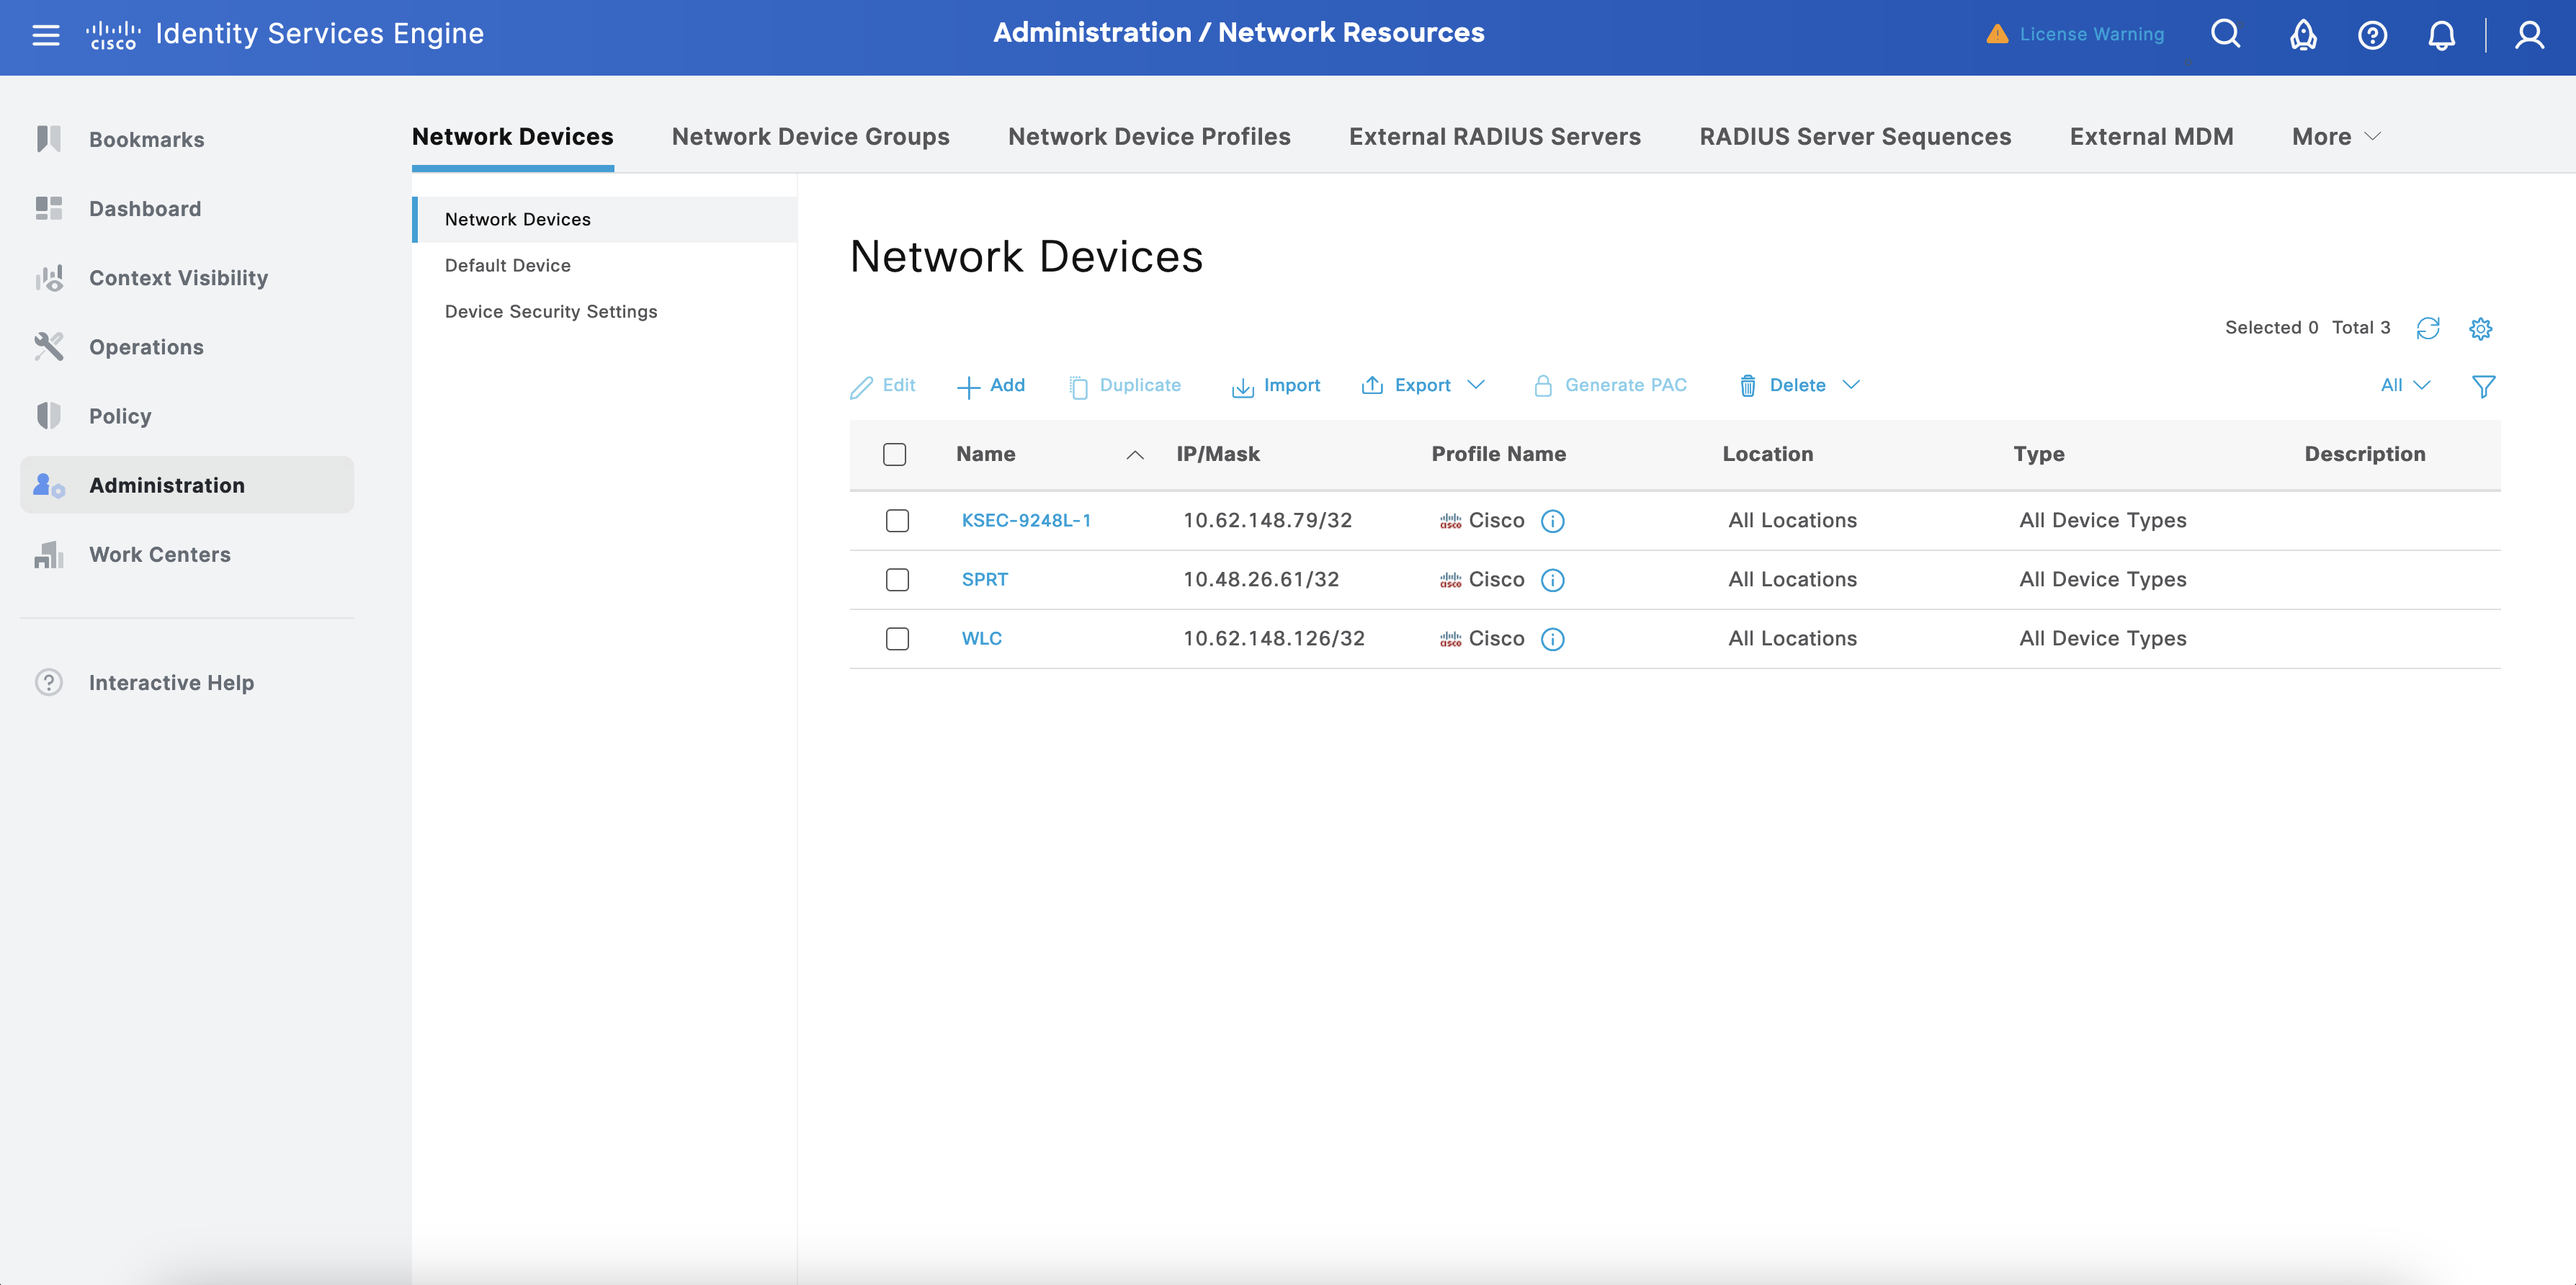
Select + Add. In the new screen, configure the Name, IP address of RADKit, and TACACS+ Shared Secret. Select Save.
Create a RADKit administrator on ISE
An ISE identity must be configured to represent an administrator. Create as many as needed.
Navigate to Administration > Identity Management > Identities > Users.
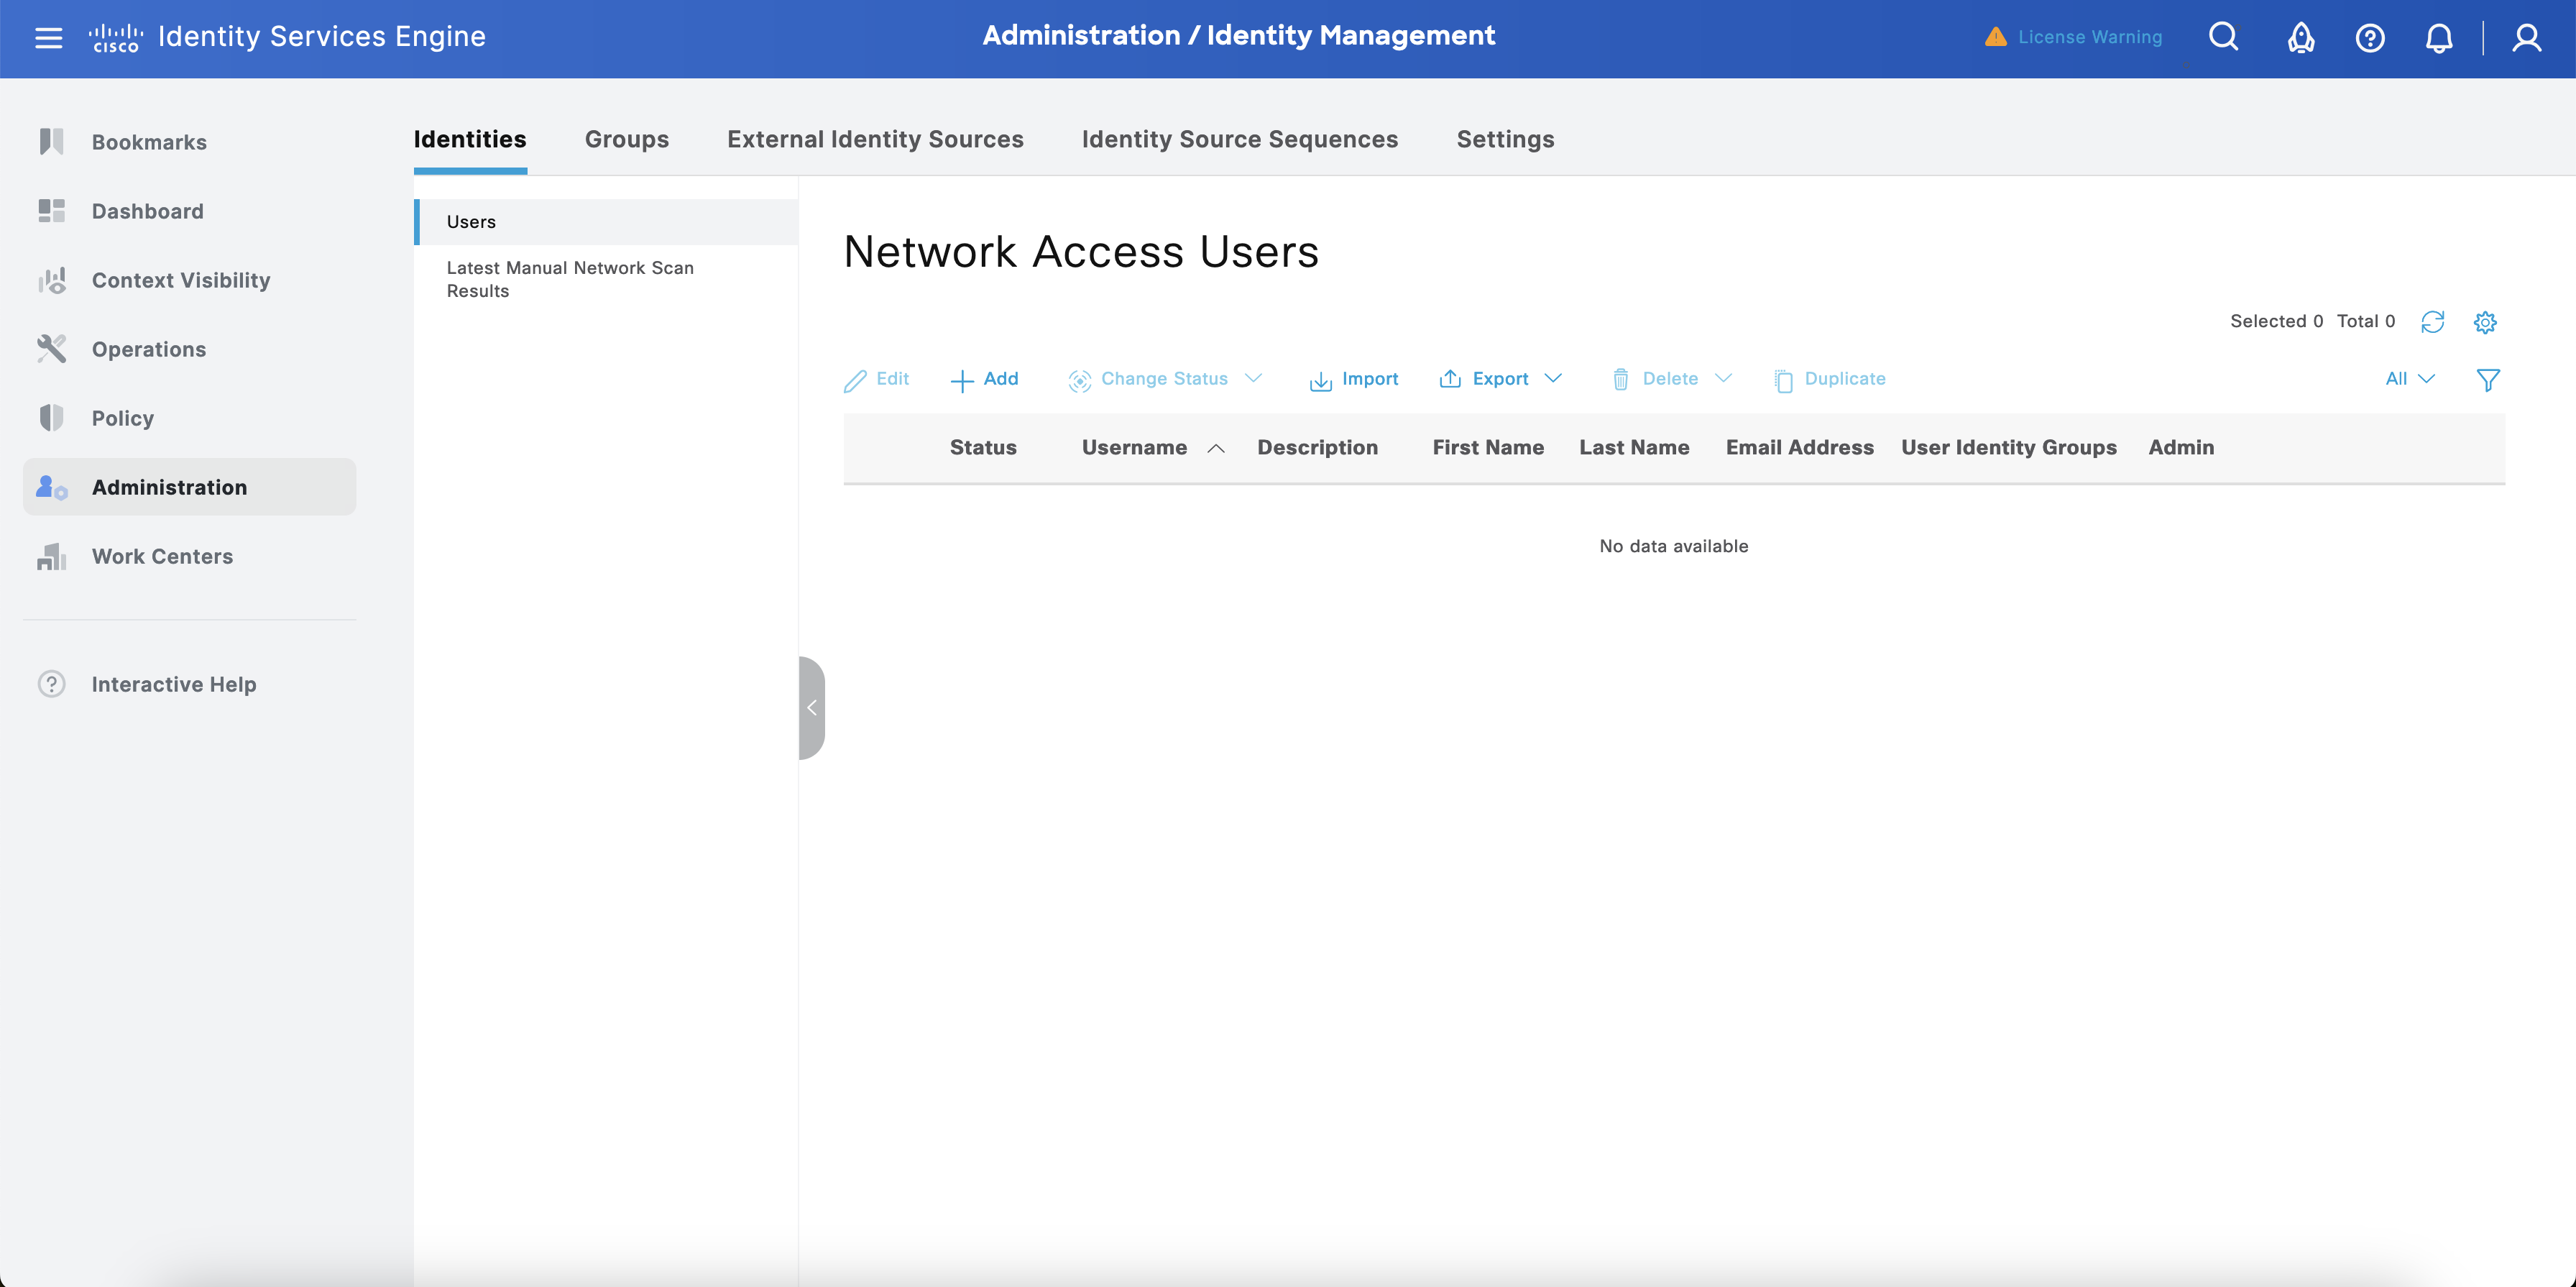
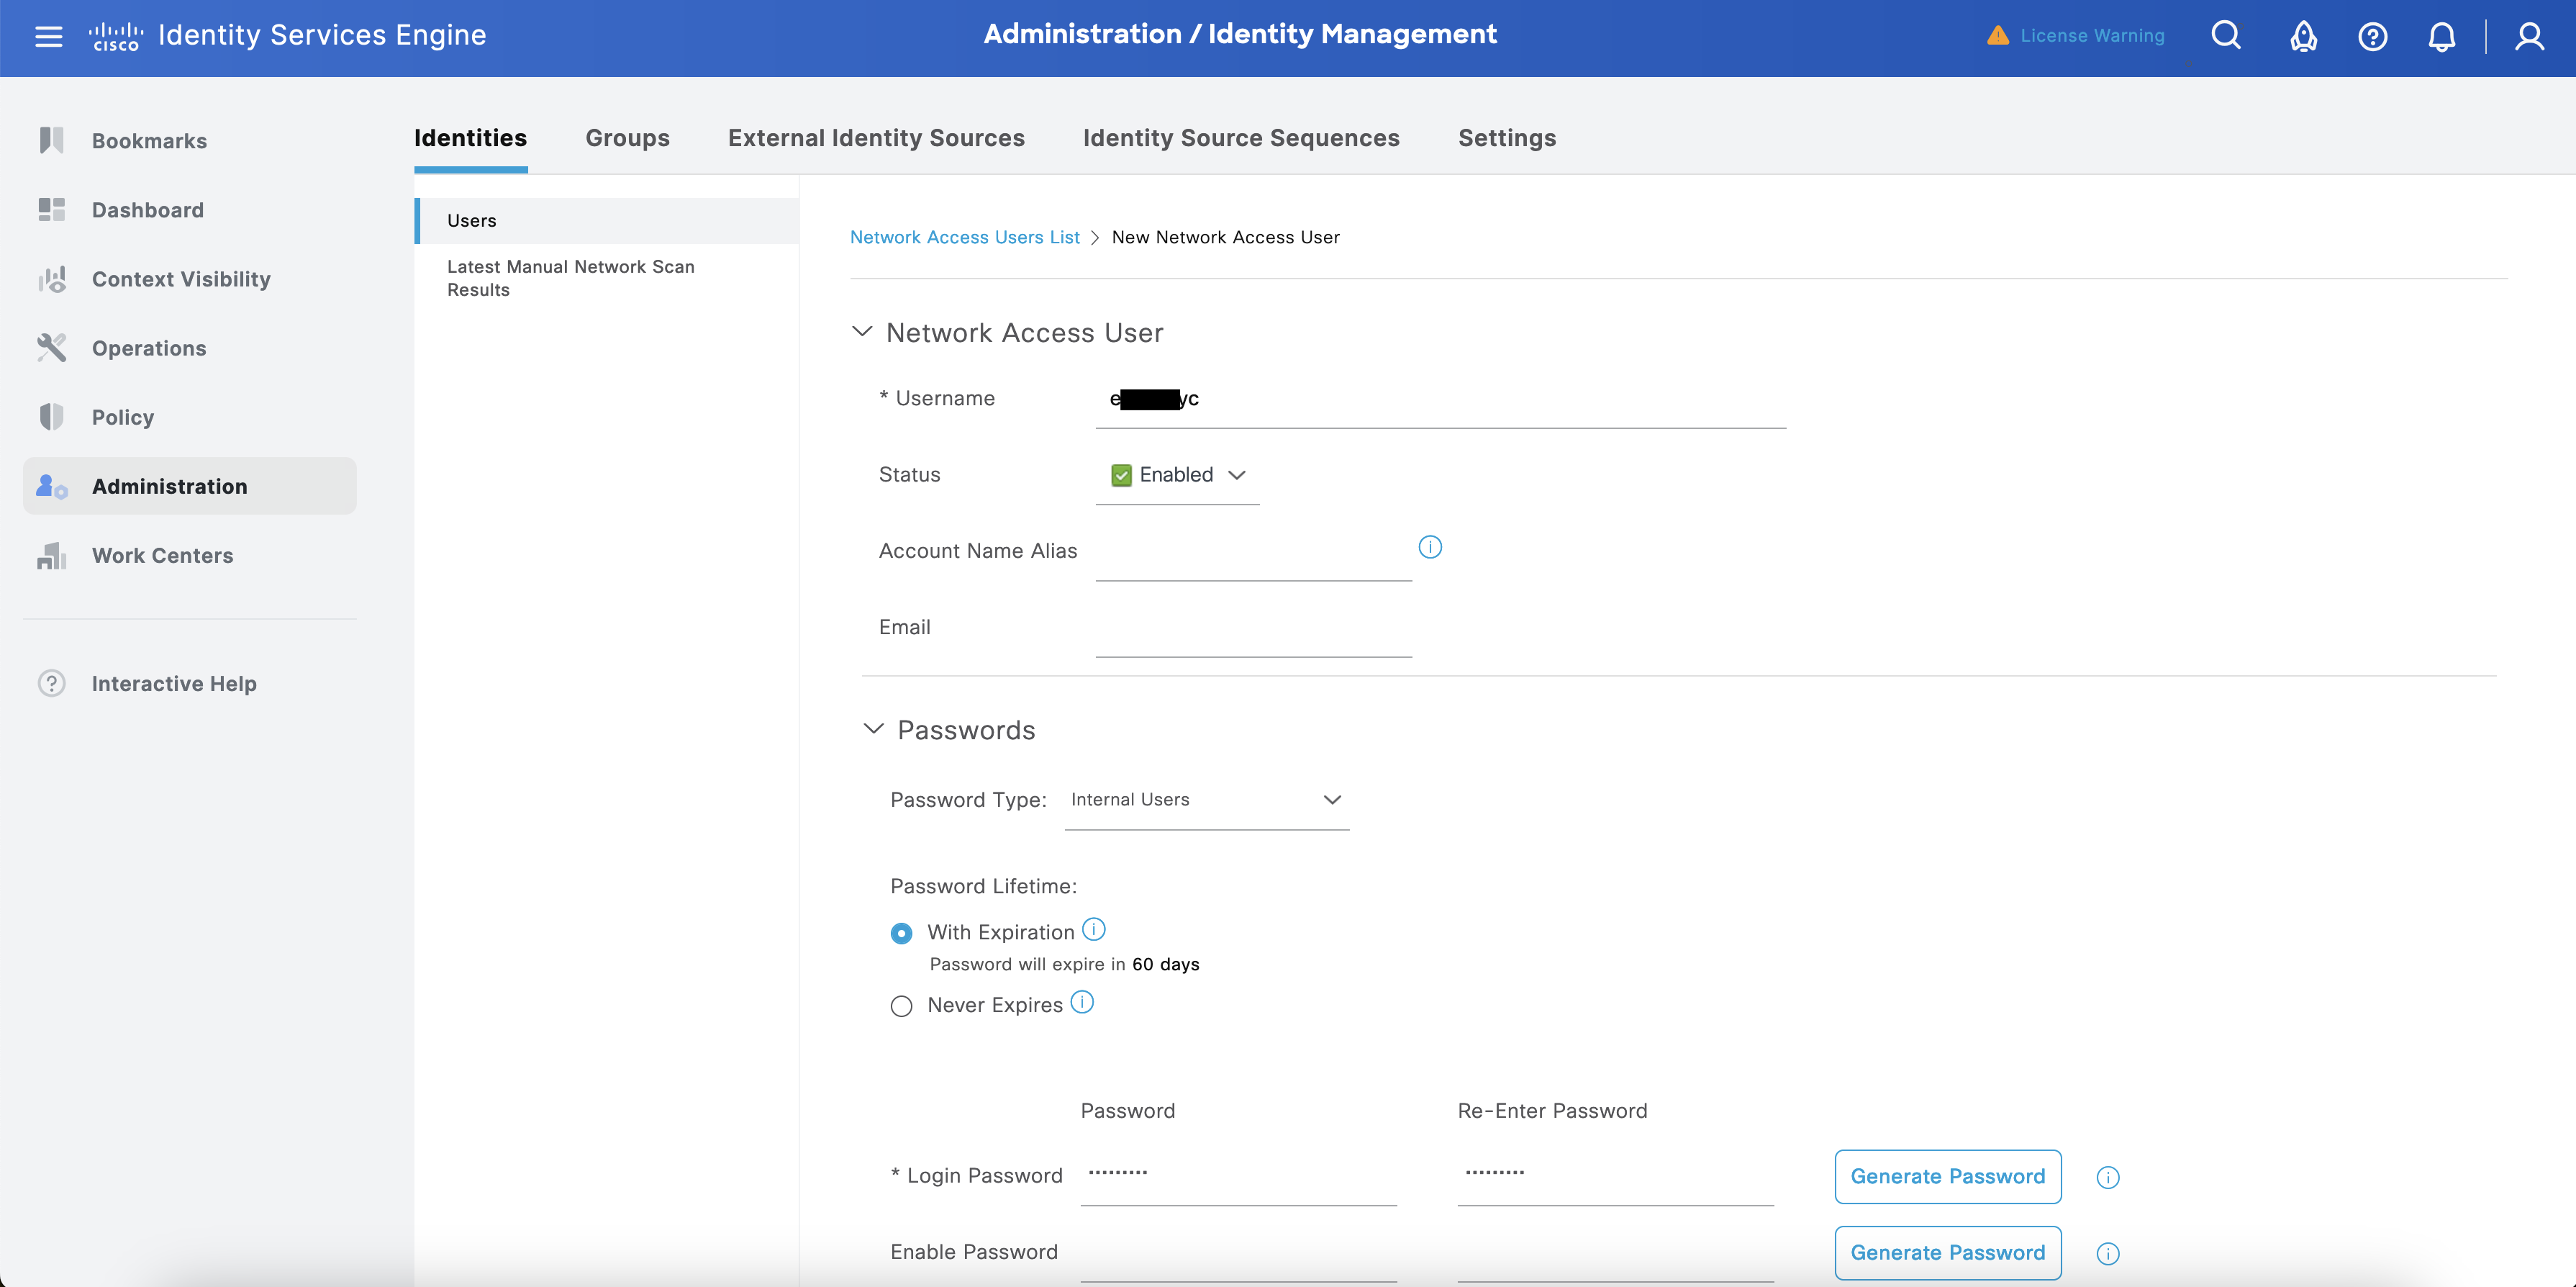
Select + Add. Configure the fields Username, Login, and Password, then select Save.
Configure a TACACS+ policy
In this phase, ISE is configured to return TACACS+ ACCESS_ACCEPT.
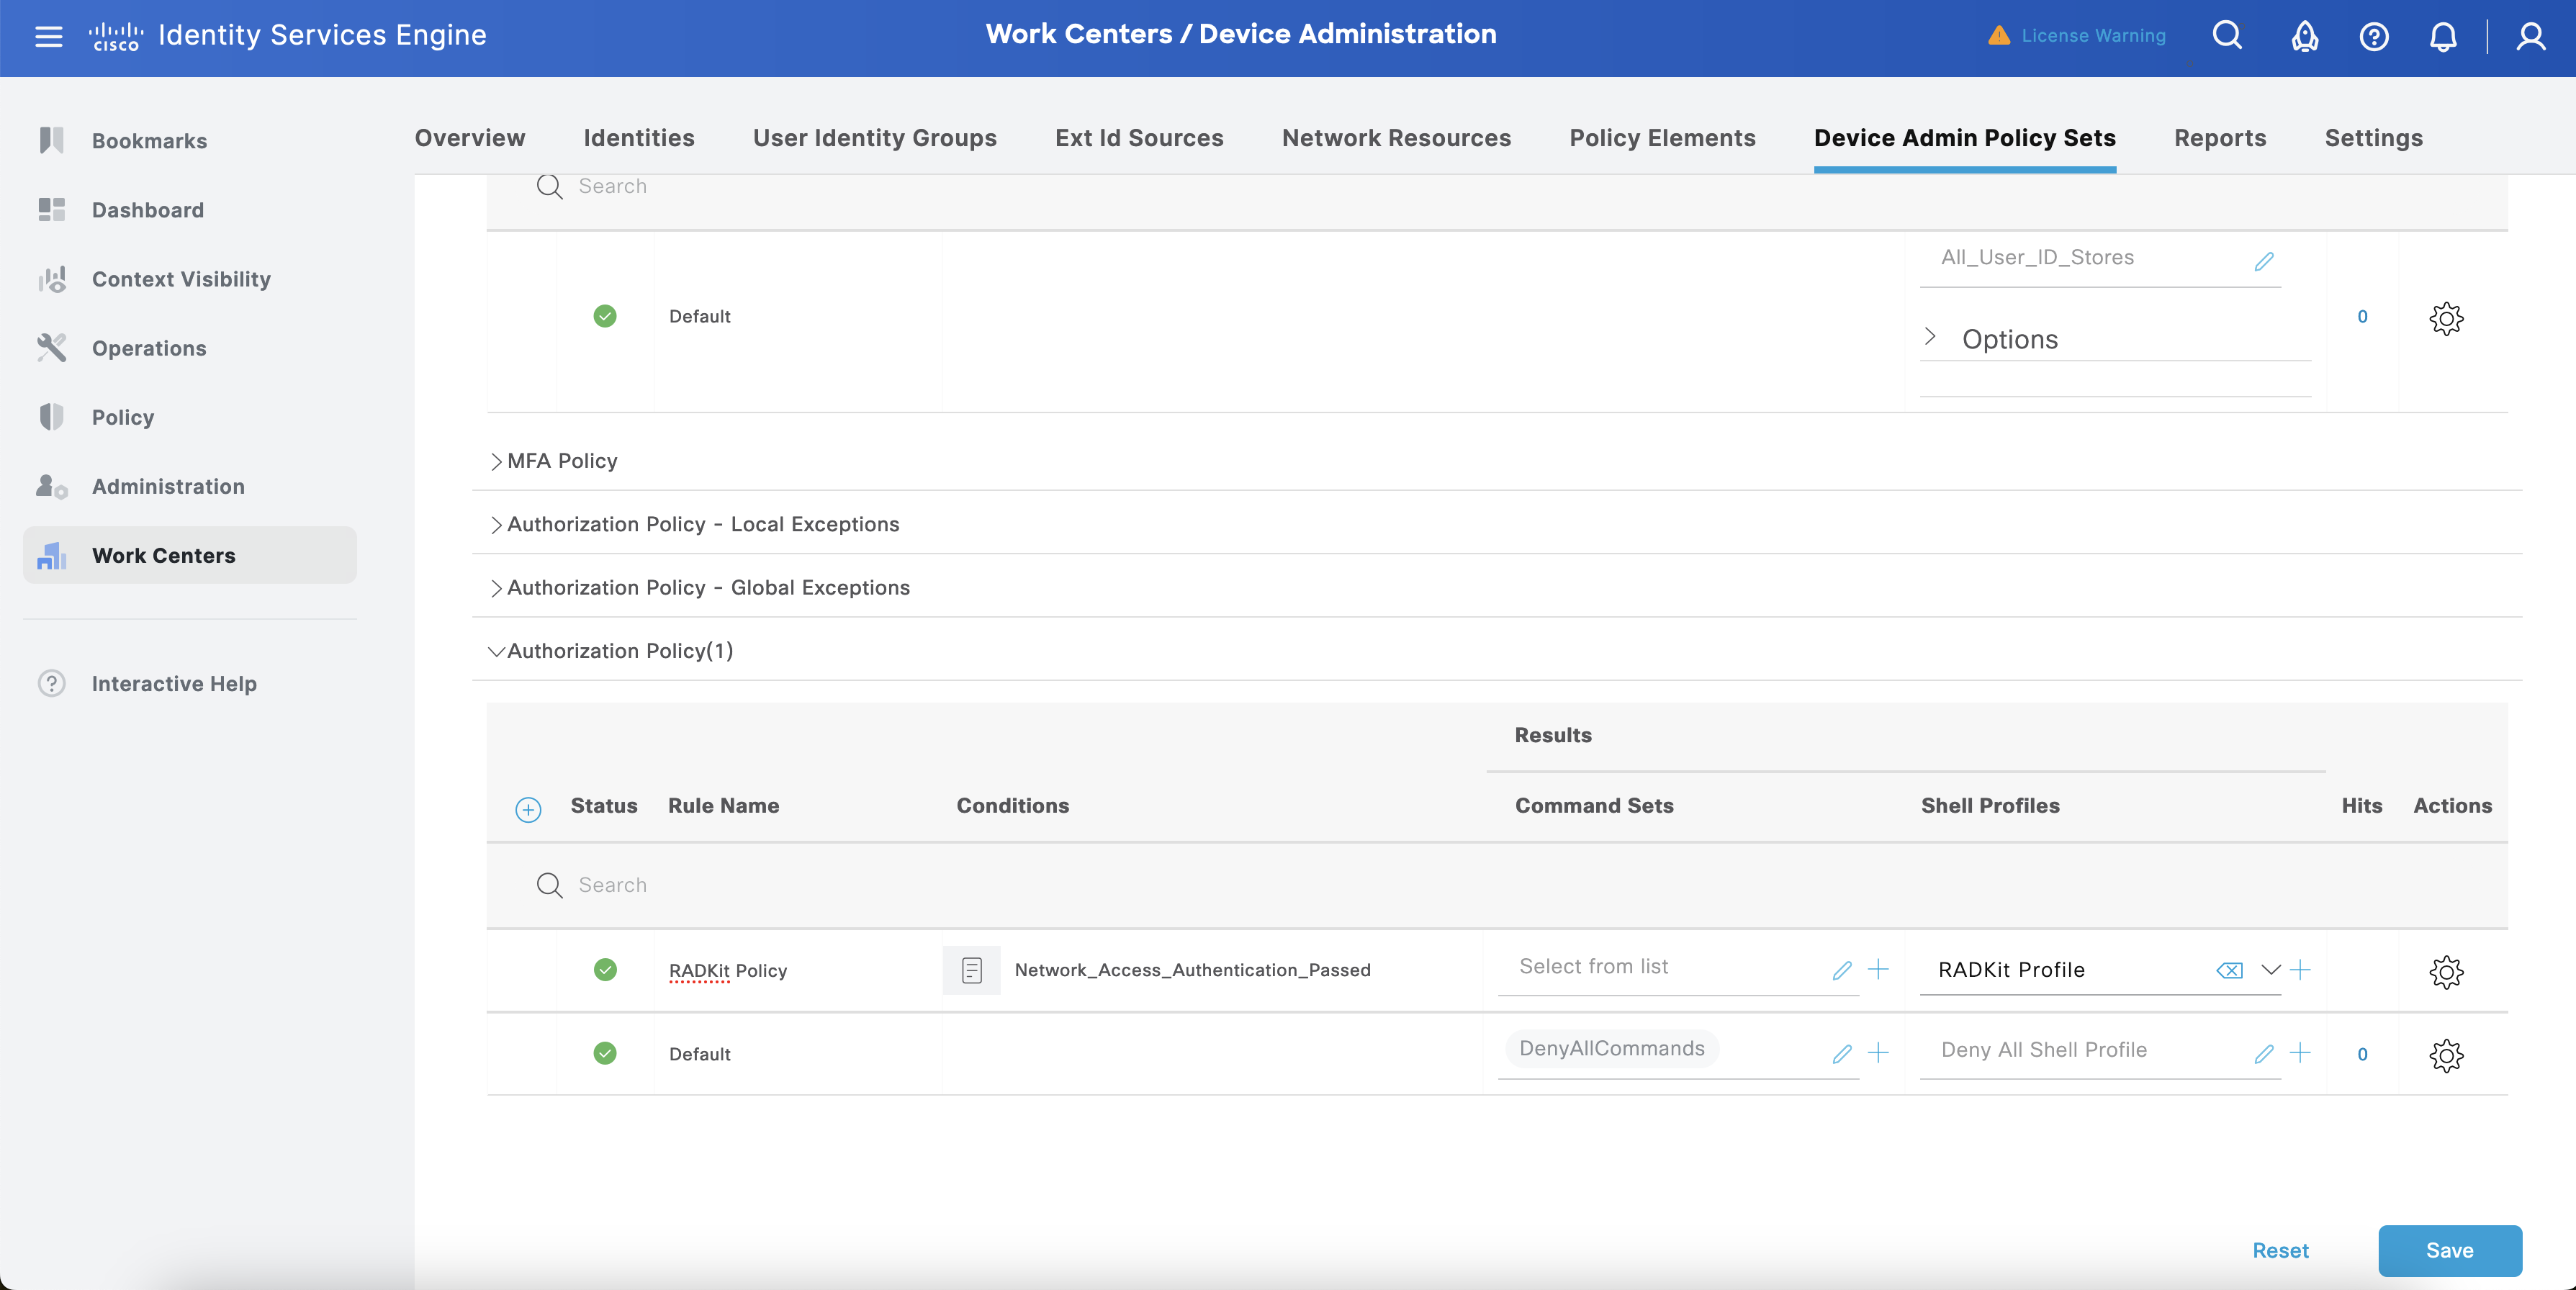
Navigate to Work Centers > Device Administration. Select > against the Policy Set of your choice.
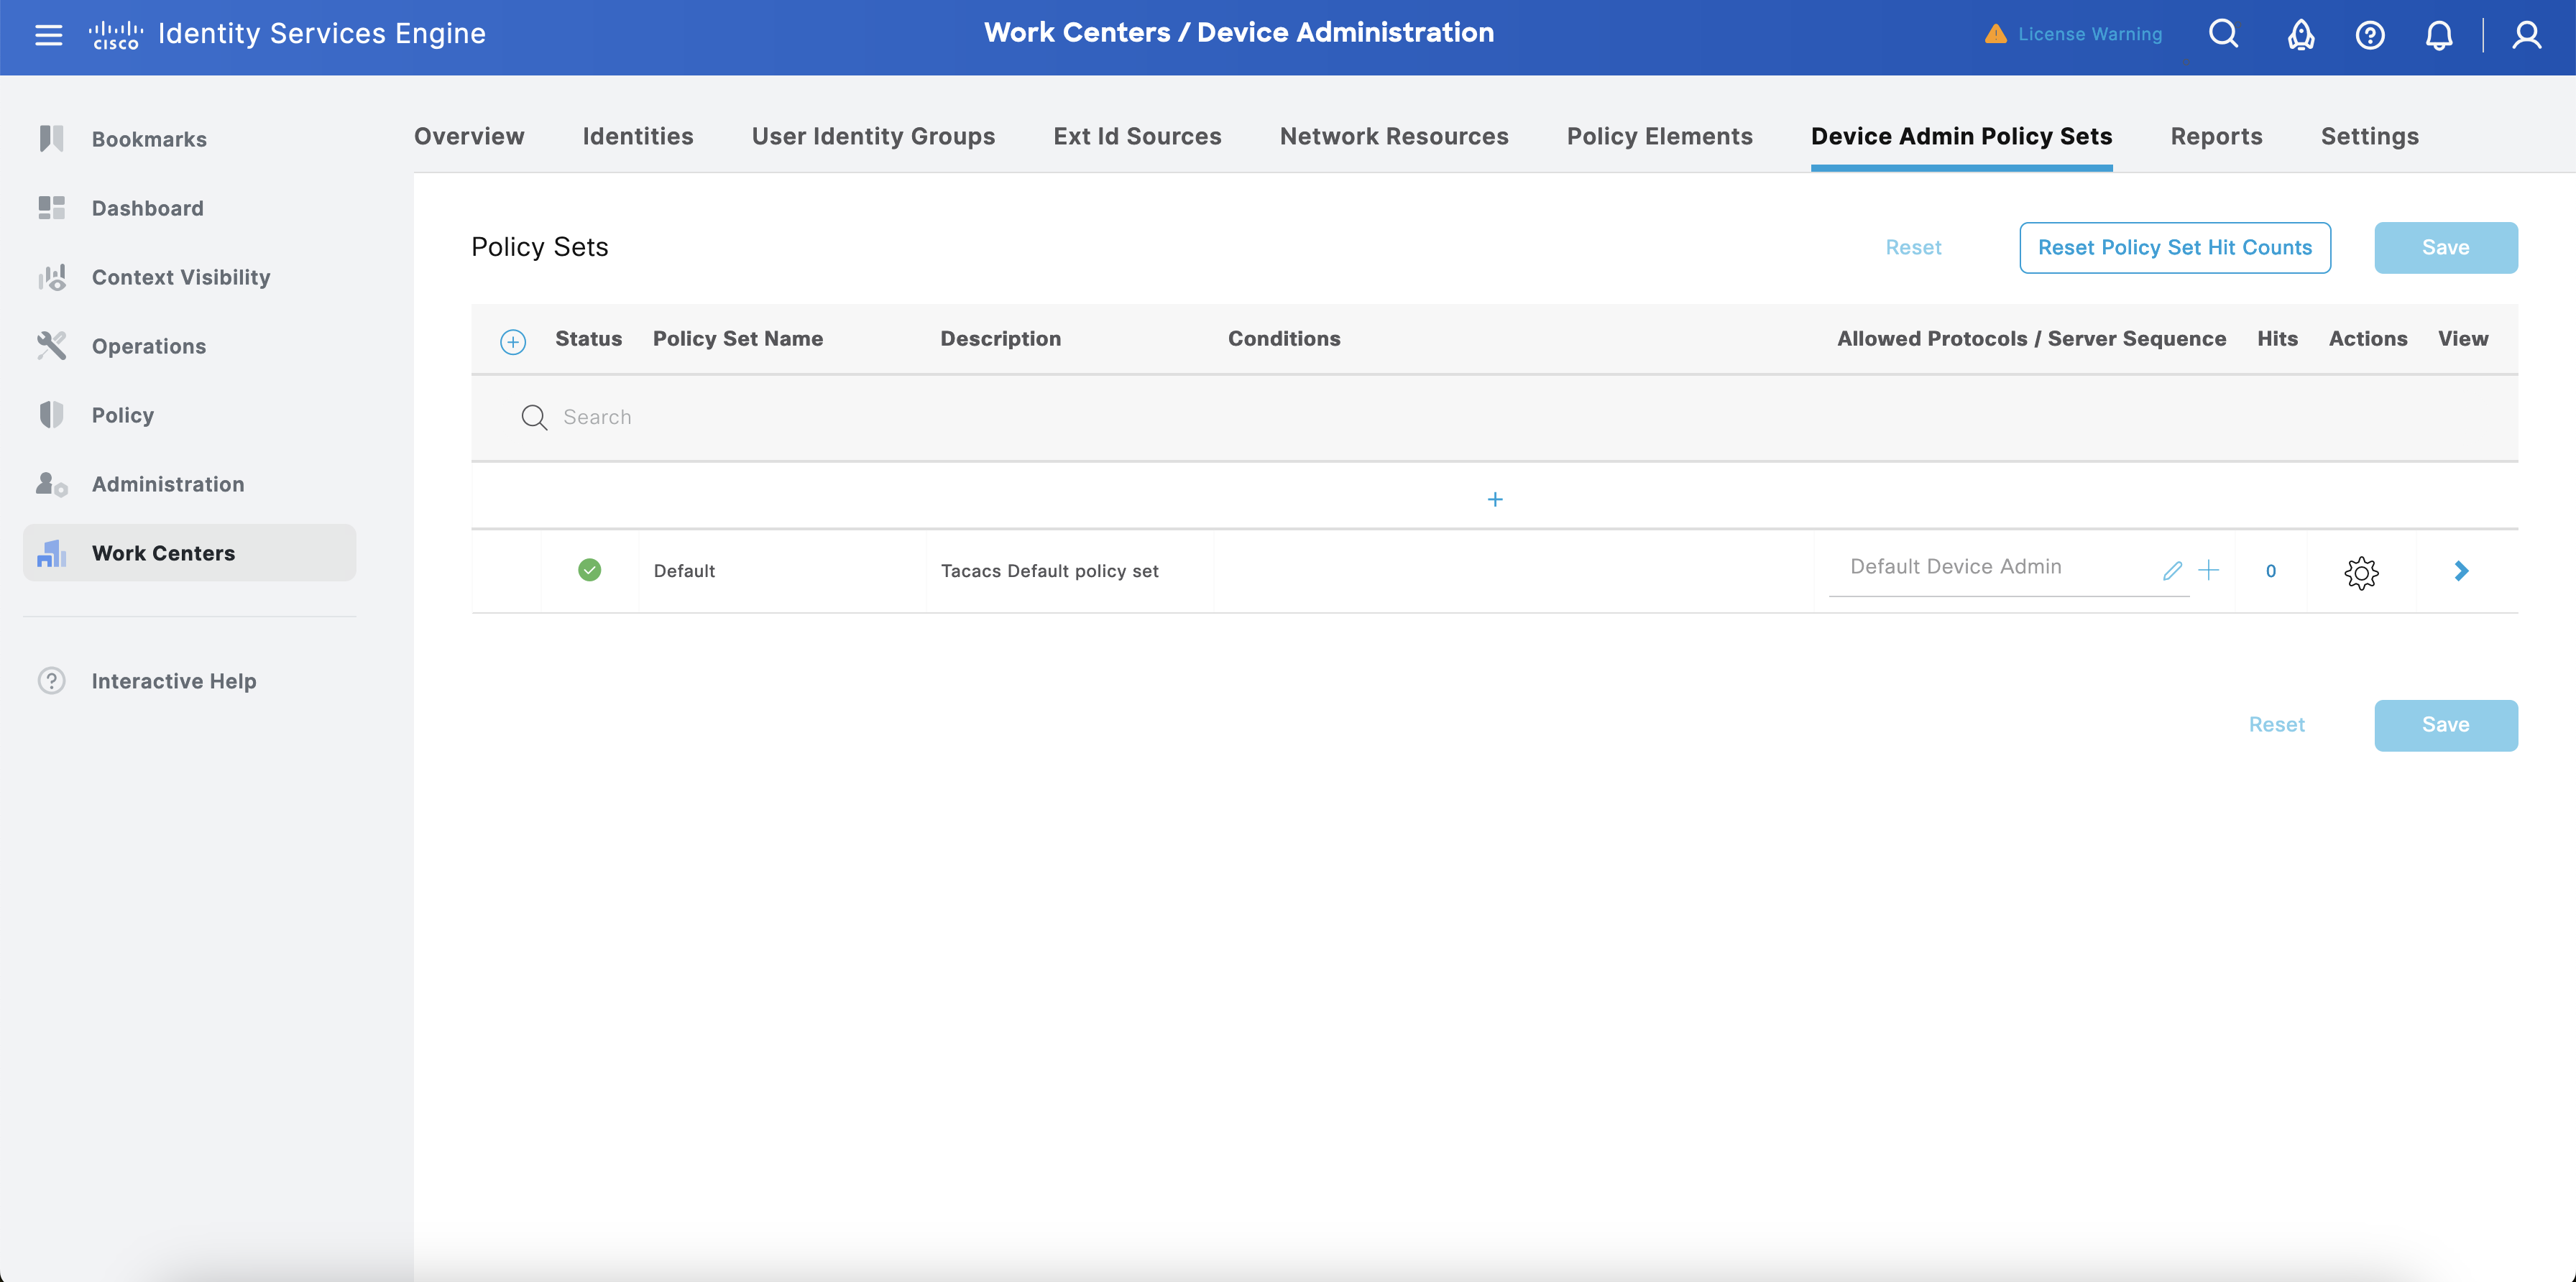
Scroll down to the Authorization Policies and add a new Authorization Policy by selecting the gear icon and choosing Insert new role above.

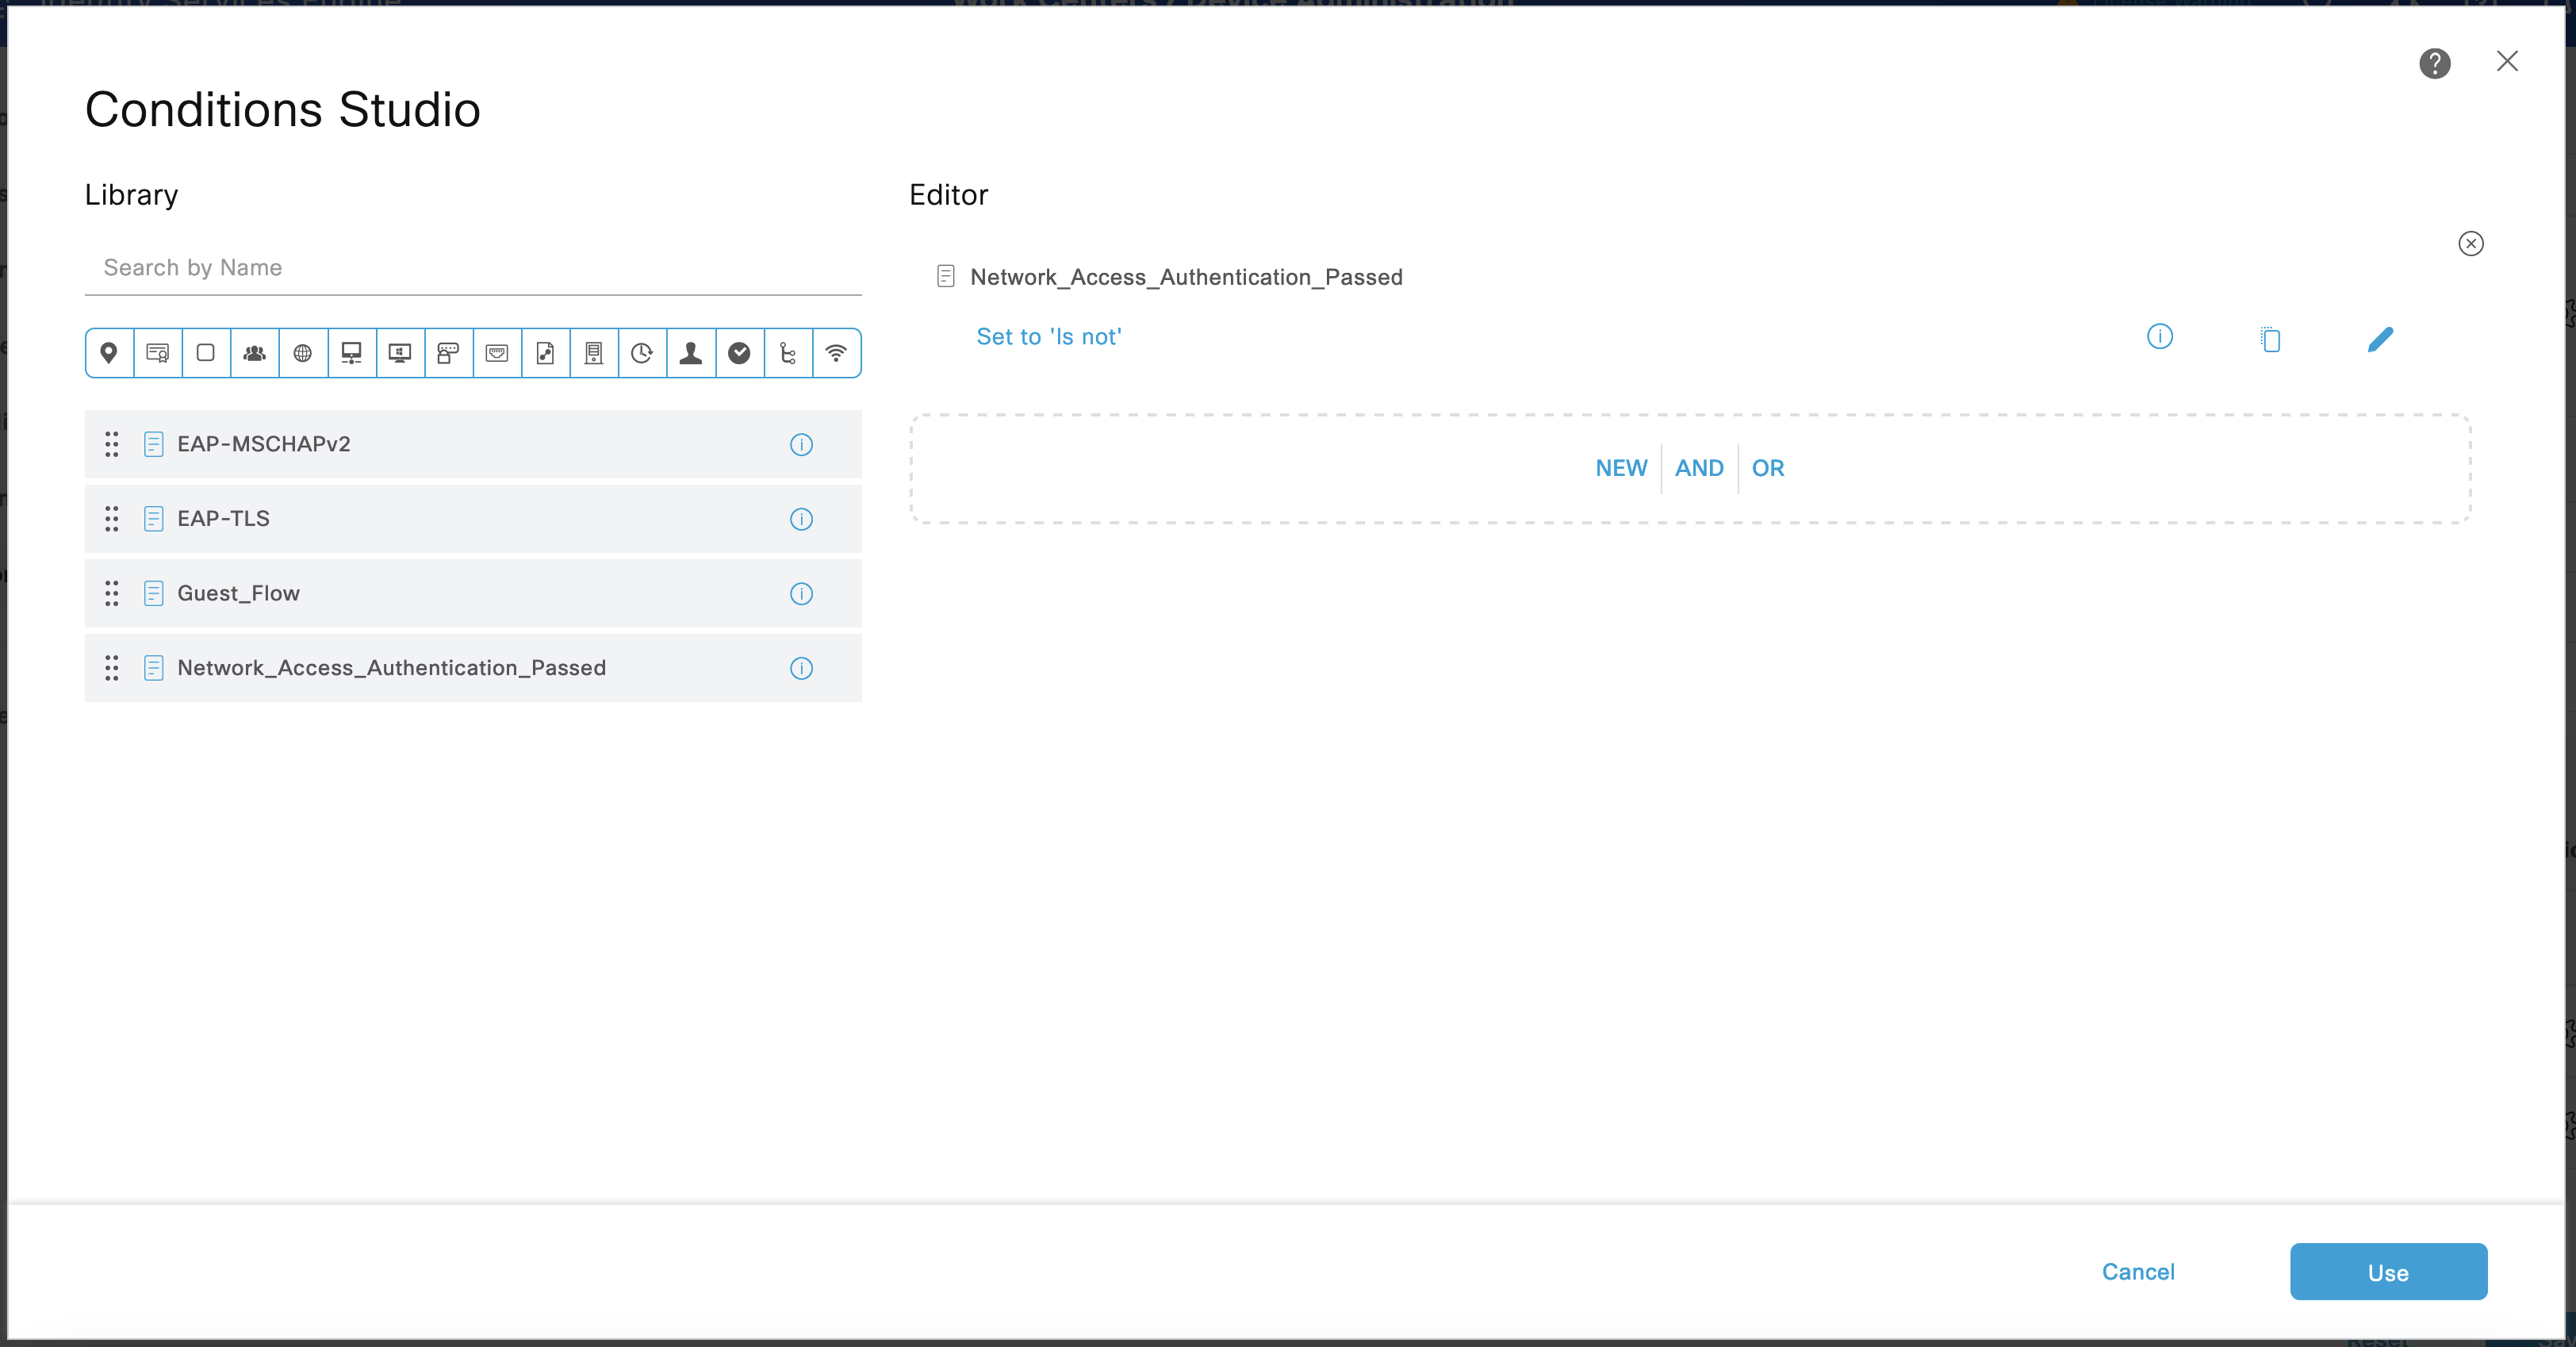
Select + in the Condition of the new policy to edit the condition. Drag and drop Network_Access_Authentication_Passed from the left screen to the Editor. Select Use.
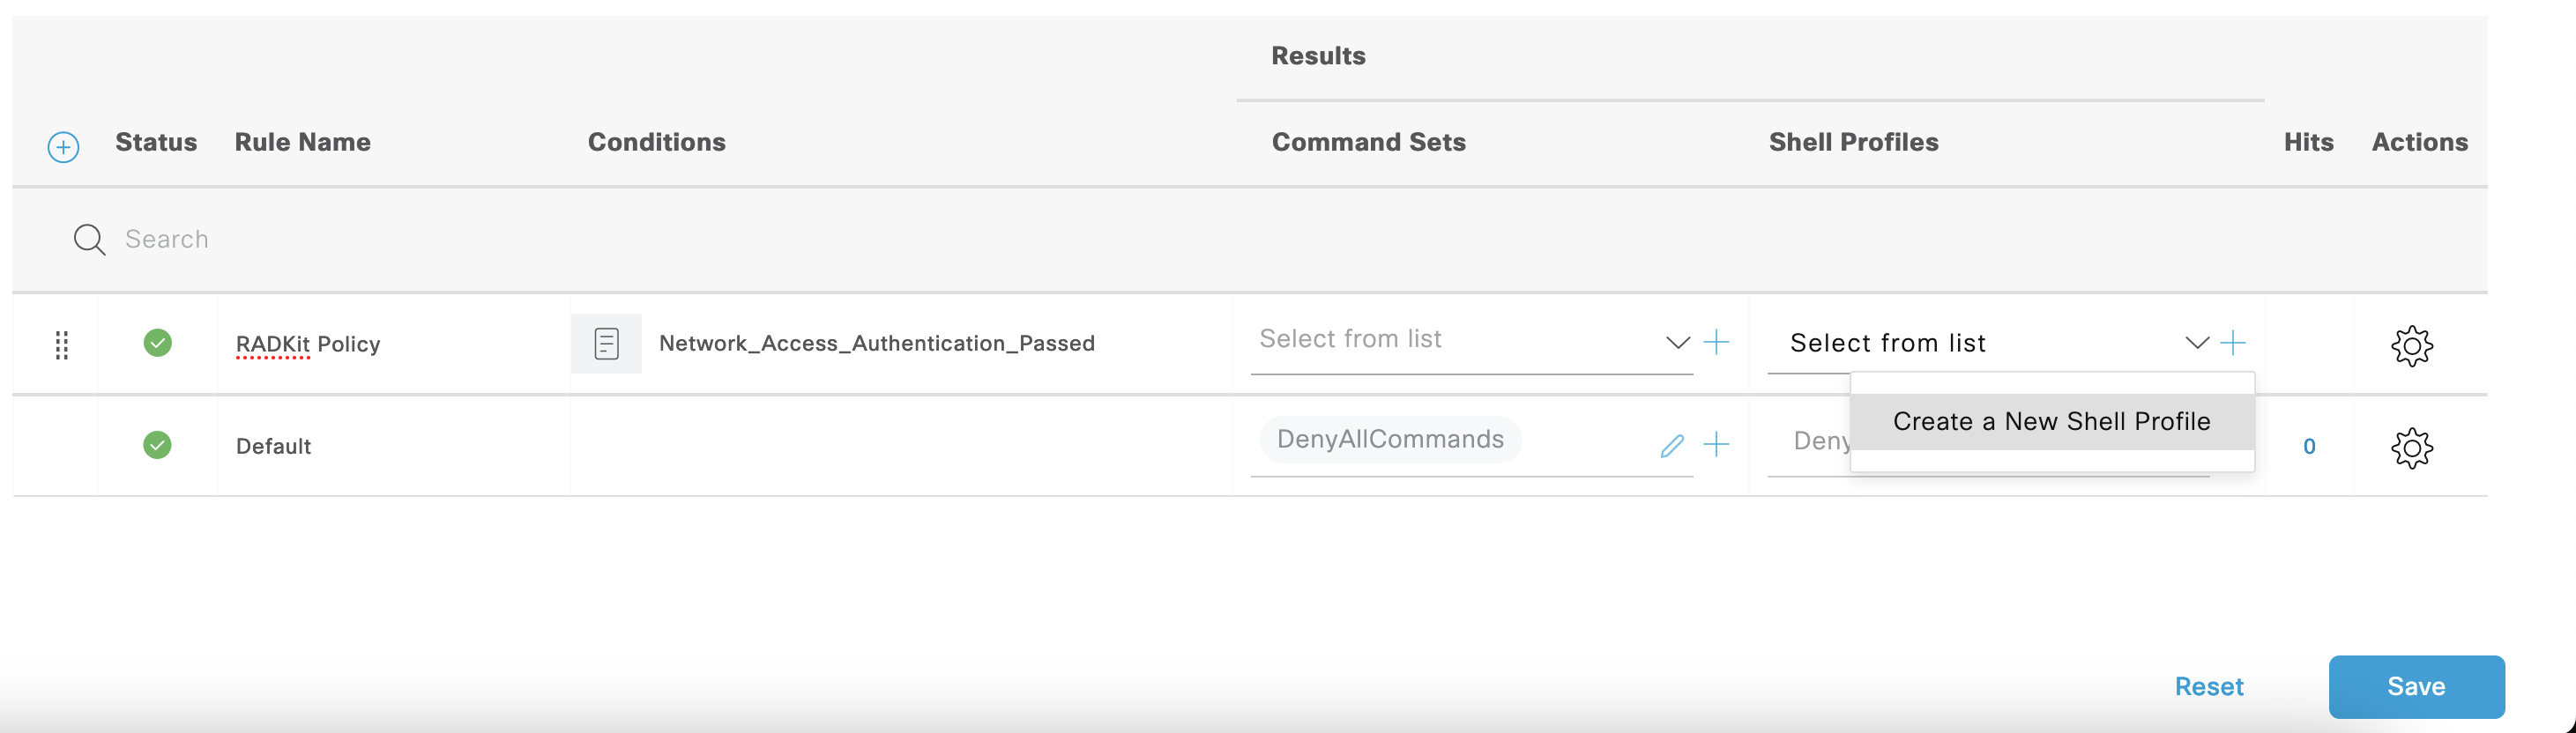
Under Shell Profile select +.
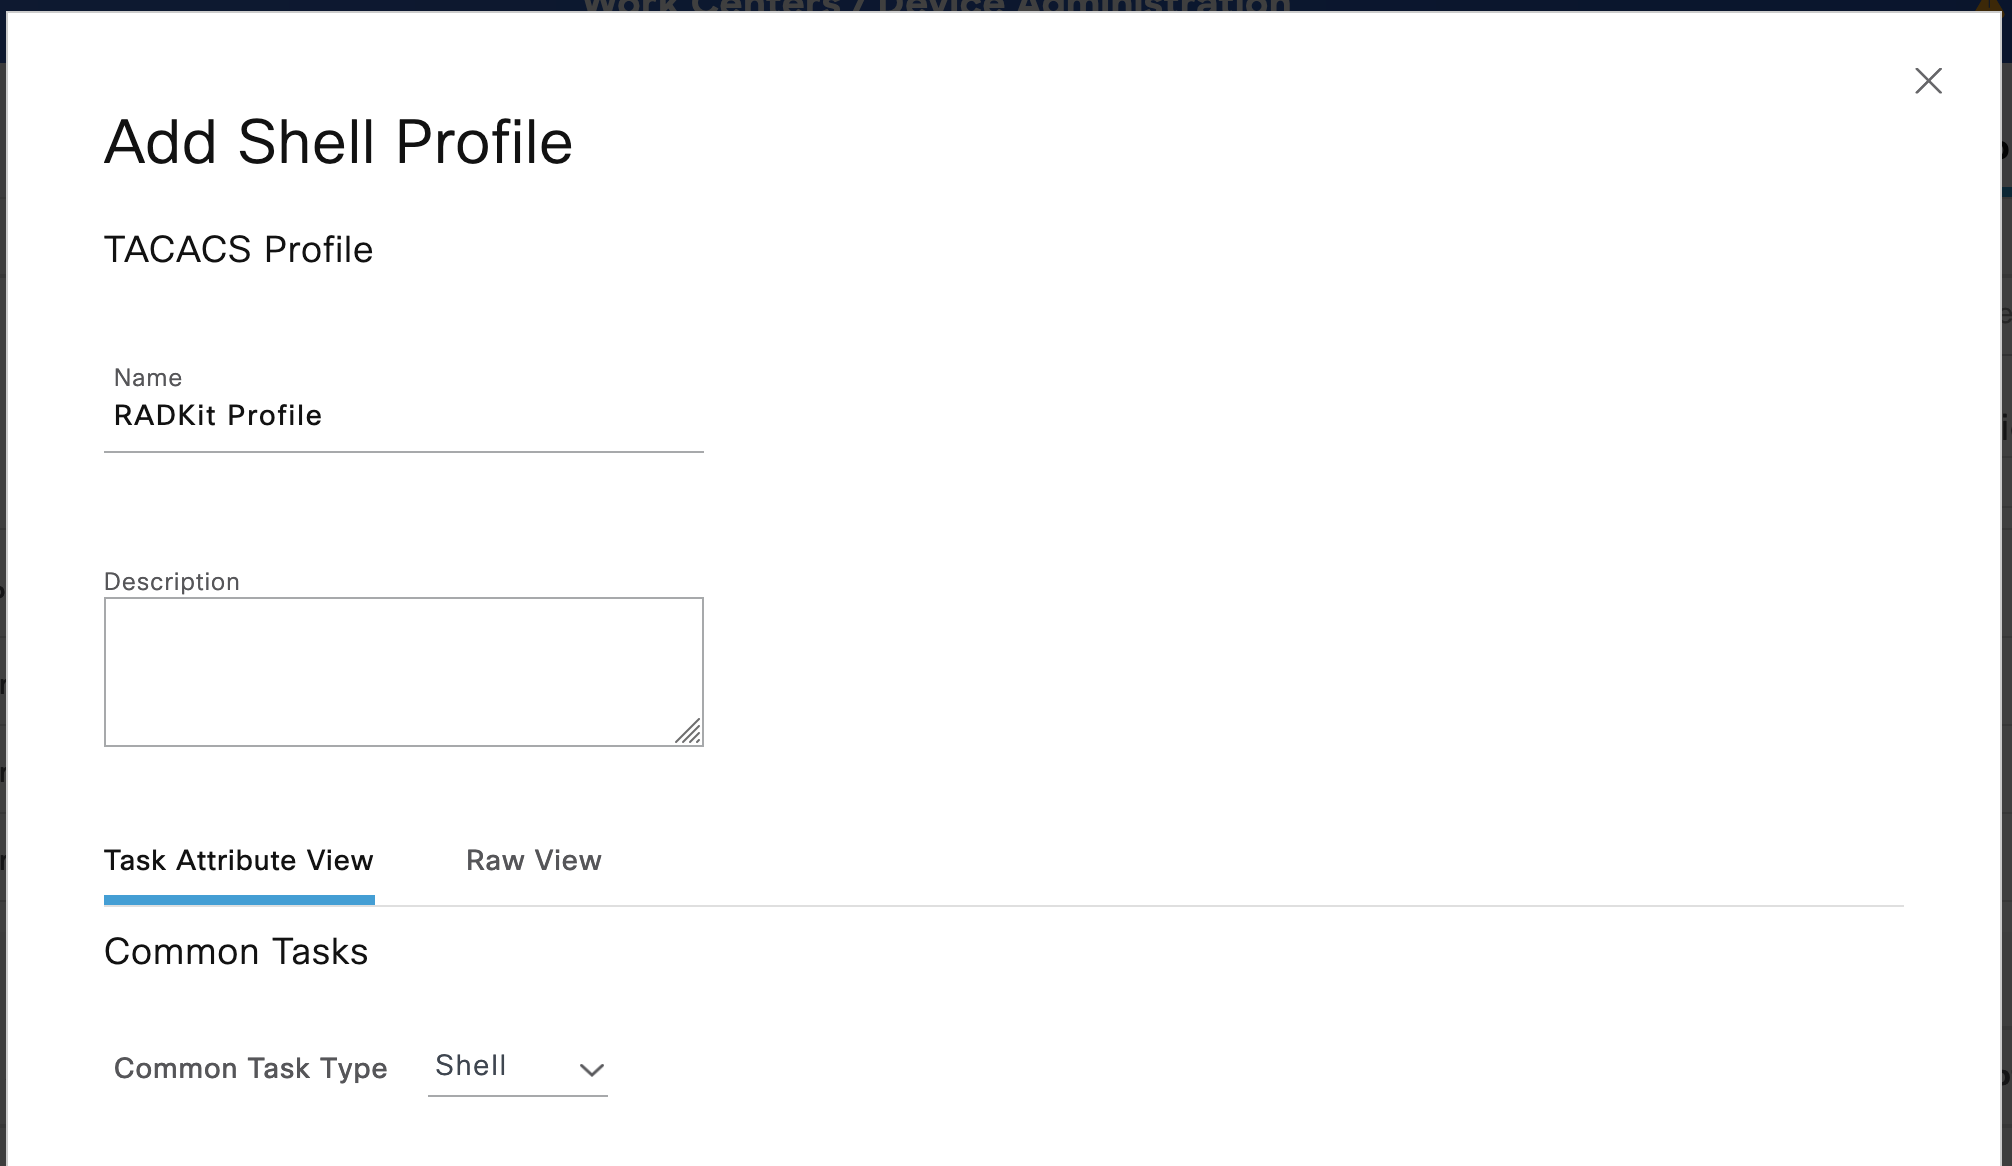
Name the Shell Profile and click Save.
Save the Policy.
Login to RADKit with an ISE-bound administrator
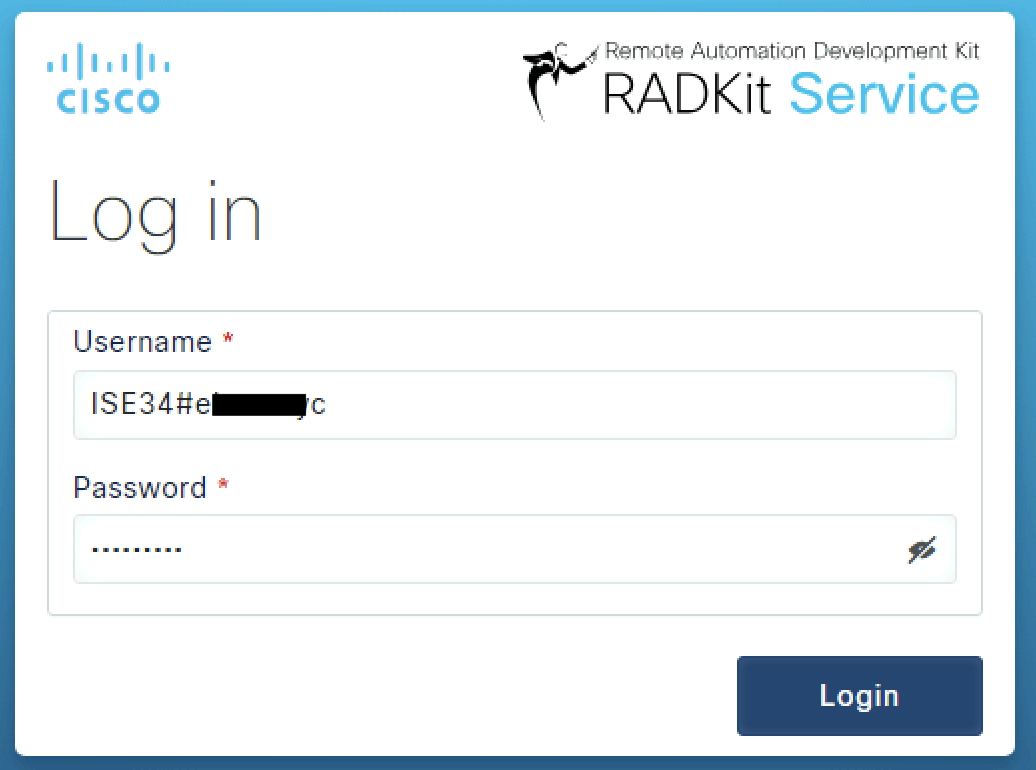
In order to login to RADKit, use the format <External TACACS+ Server>#<username>.
Check ISE Live Logs
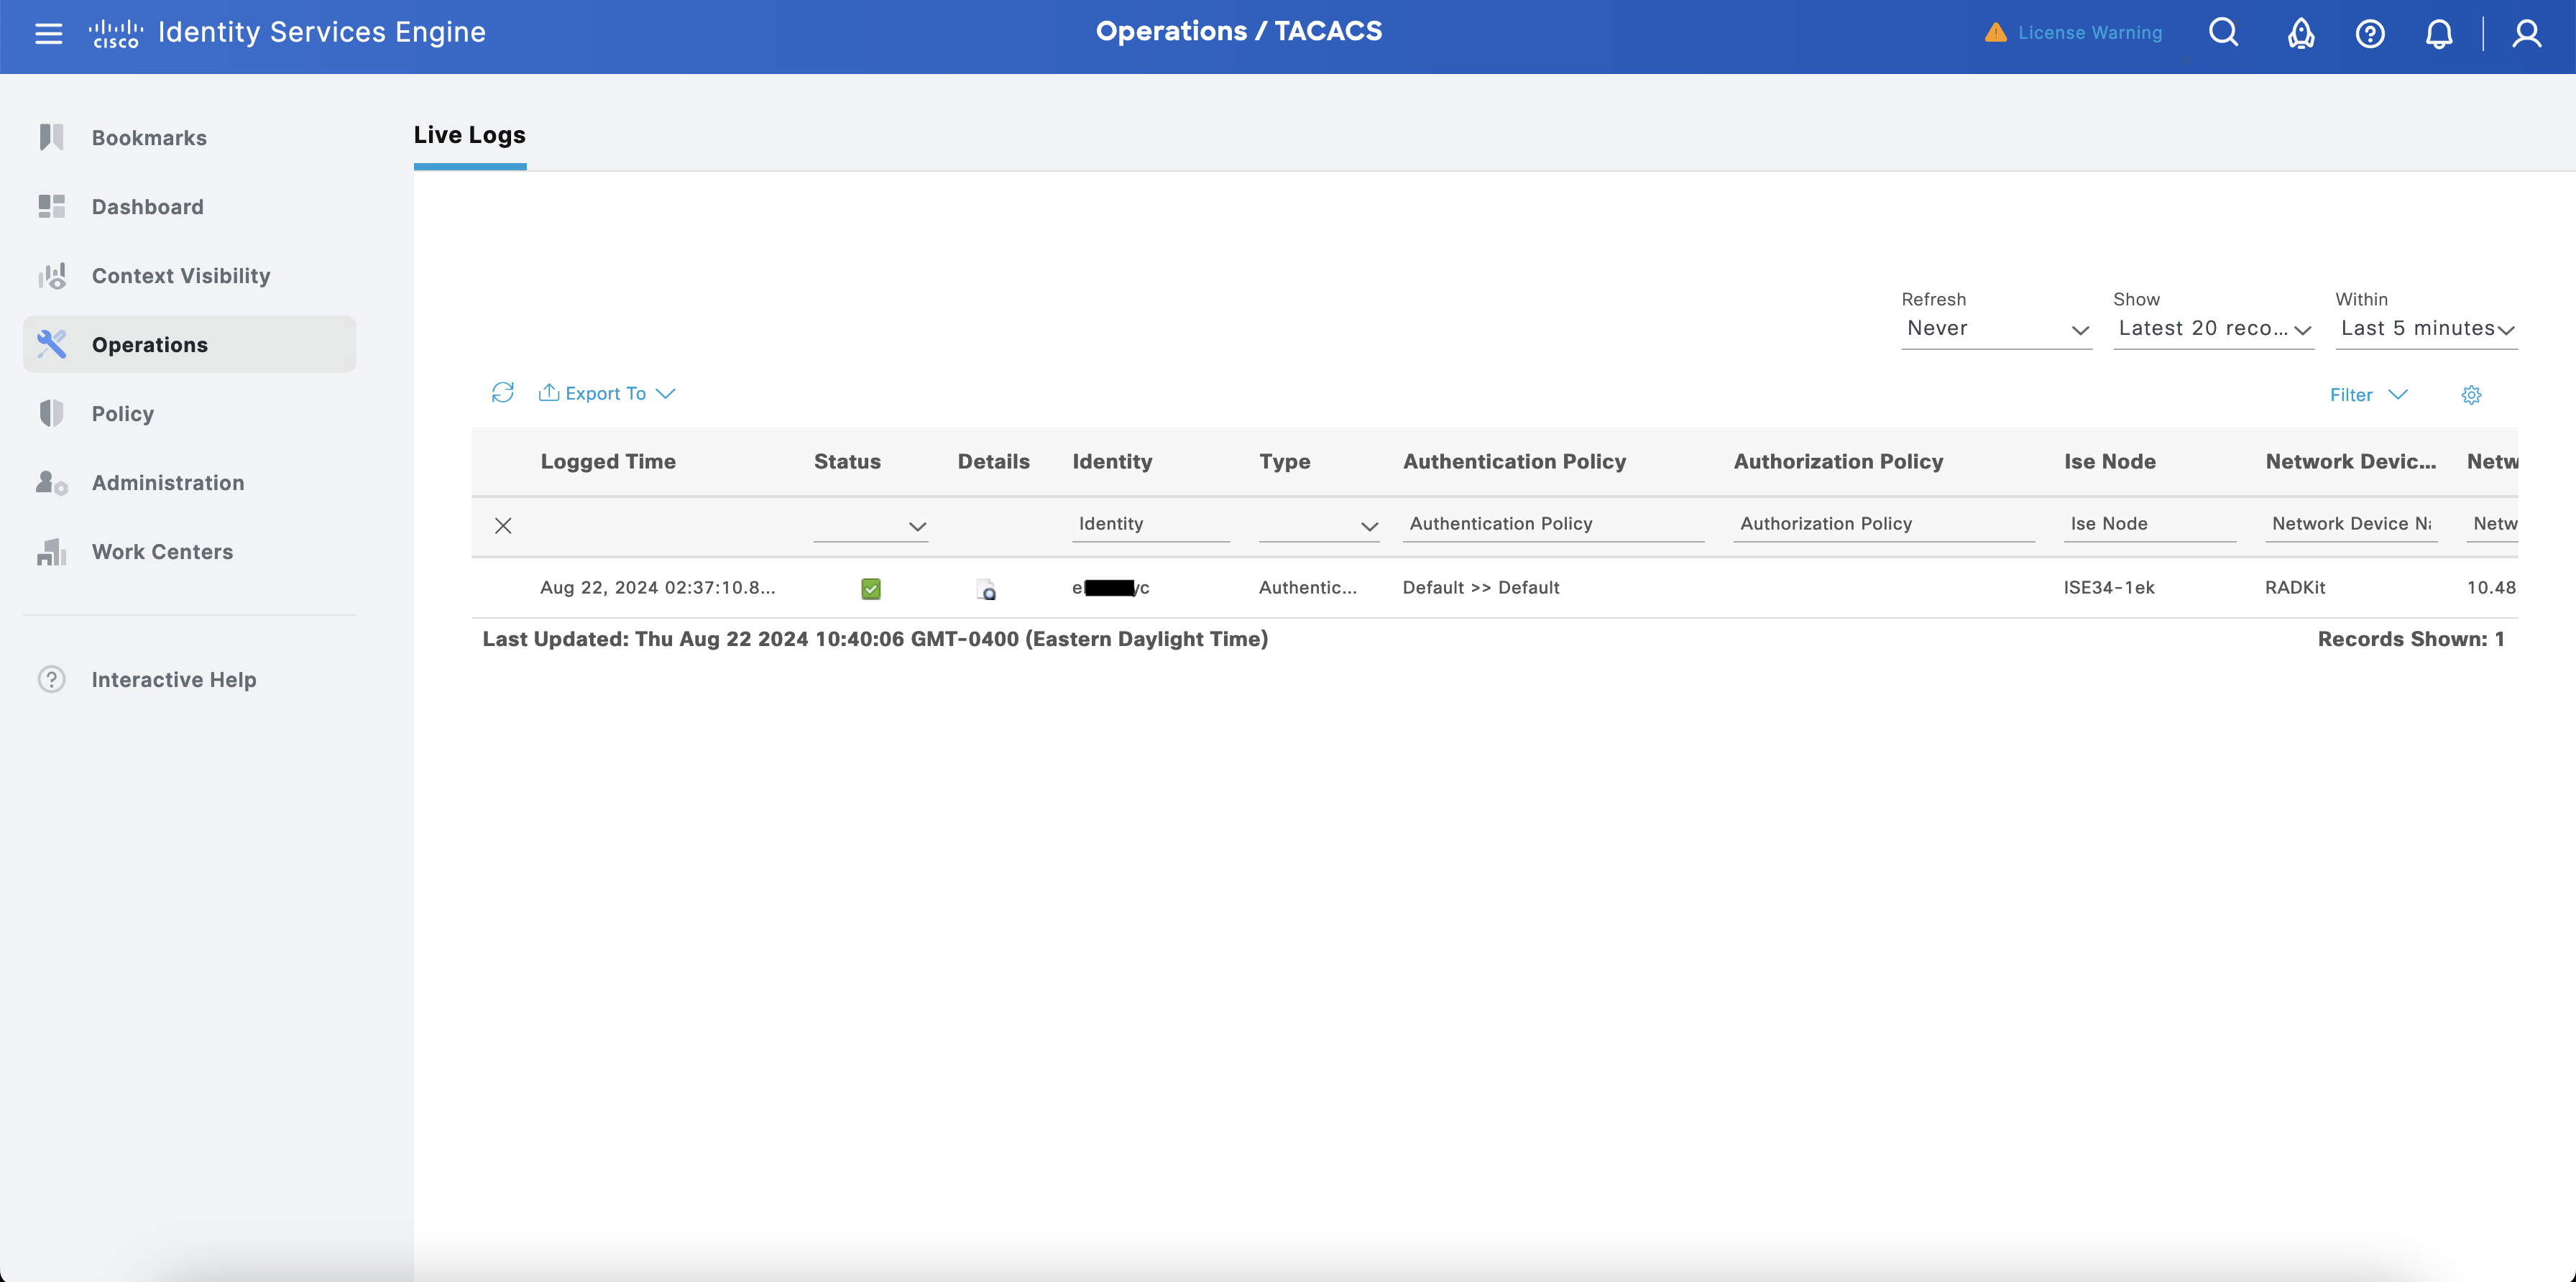
Verify successful authentication on ISE.
Navigate to Operations > TACACS > Live Logs, and confirm that RADKit was able to successfully authenticate the administrator with ISE.