RBAC using labels
Role-Based Access Control on RADKit Service allows limiting access to devices to only specific users through the use of labels. In simple terms, if the same label is applied to the user and the device, then the user will have access to that device. Otherwise, the user will not see the device in the inventory.
Warning
RBAC is possible only when connecting to the Service with the use of RADKit cloud. When connecting to the Service in direct mode - RBAC has no effect.
A label is an attribute to a device or a user. There is one set of labels; those can be affixed to users and devices.
A label has the following attributes:
label_name: A user-chosen unique identifier in (alphanum + _-) format. A name must be unique in its set.
label_color: For better display purposes (“#000000”, example=”#ff0000”).
Note
Multiple labels can be assigned to a given user. Similarly, multiple labels can be assigned to a given device.
By default RBAC is disabled. In such case, the default behaviour is that all active users have access to the entire inventory.
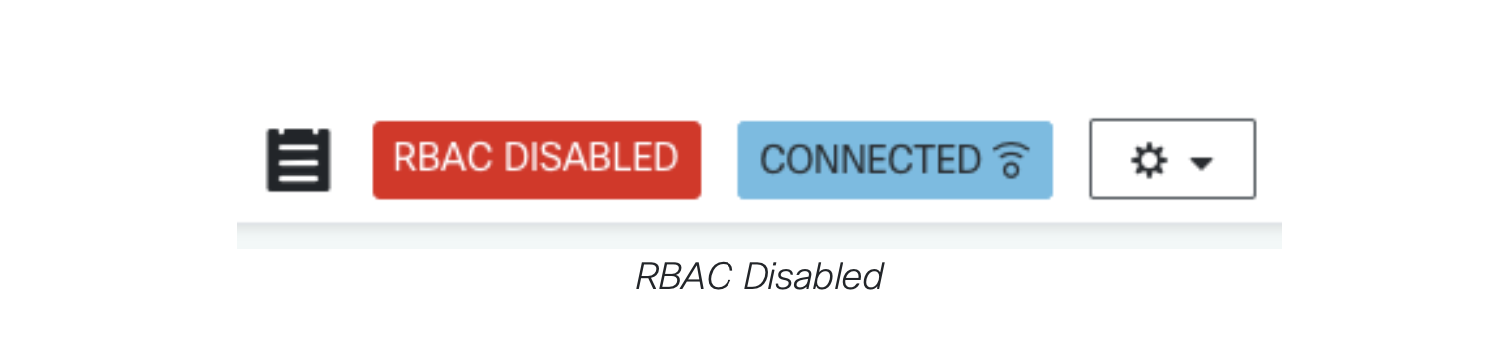
To enable RBAC, click on the RBAC DISABLED button. This will open the Labels page. Then, toggle the Enable RBAC button.

Once done, you can need to create labels, and then assign those labels to both users and devices.
Creating labels using Service WebUI
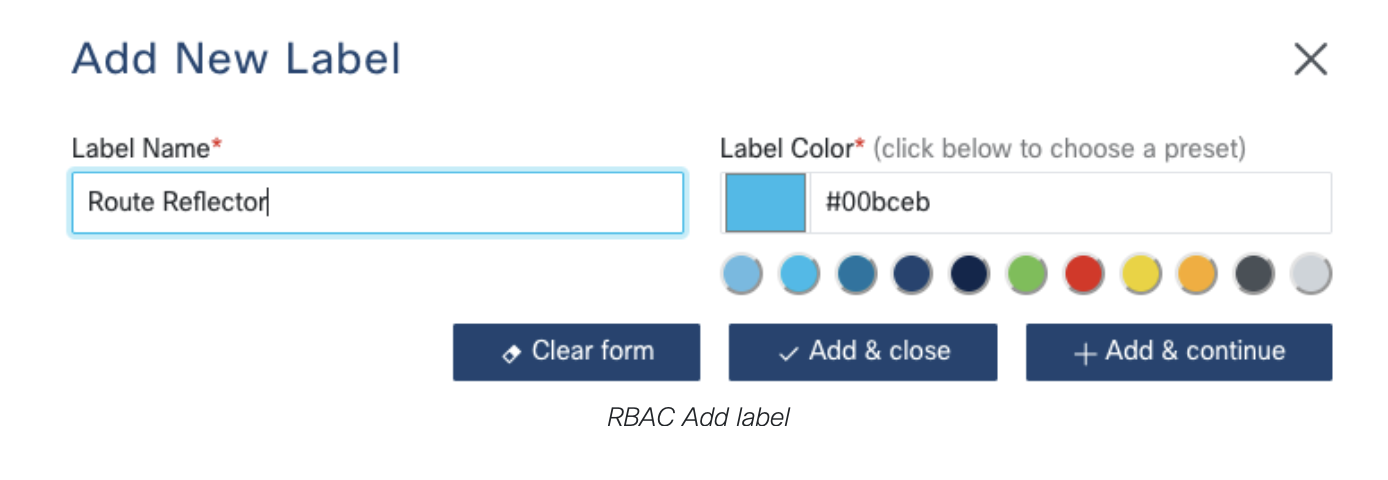
To create a label from RADKit Service UI, click on the + Add Label button on the RBAC Labels page. Fill in the mandatory label name, and give it a color for easy identification.
Note
The label name functions as a versatile textual string, providing the flexibility to represent a variety of concepts depending on the use case. Examples of usage can be adding a TAC ticket number as the label name (e.g., “SR612345678”) or geographical divisions such as “London Headend”.
Assigning labels to a user
A label can be assigned to users during creation and also we can edit an existing user. On the modal window, you should see the list of available labels. Select the relevant labels (as many as necessary), then click the Update button if you are updating an already existing user or choose from the Add & Close or Add & Continue buttons if it is a new user and the action will be taken.
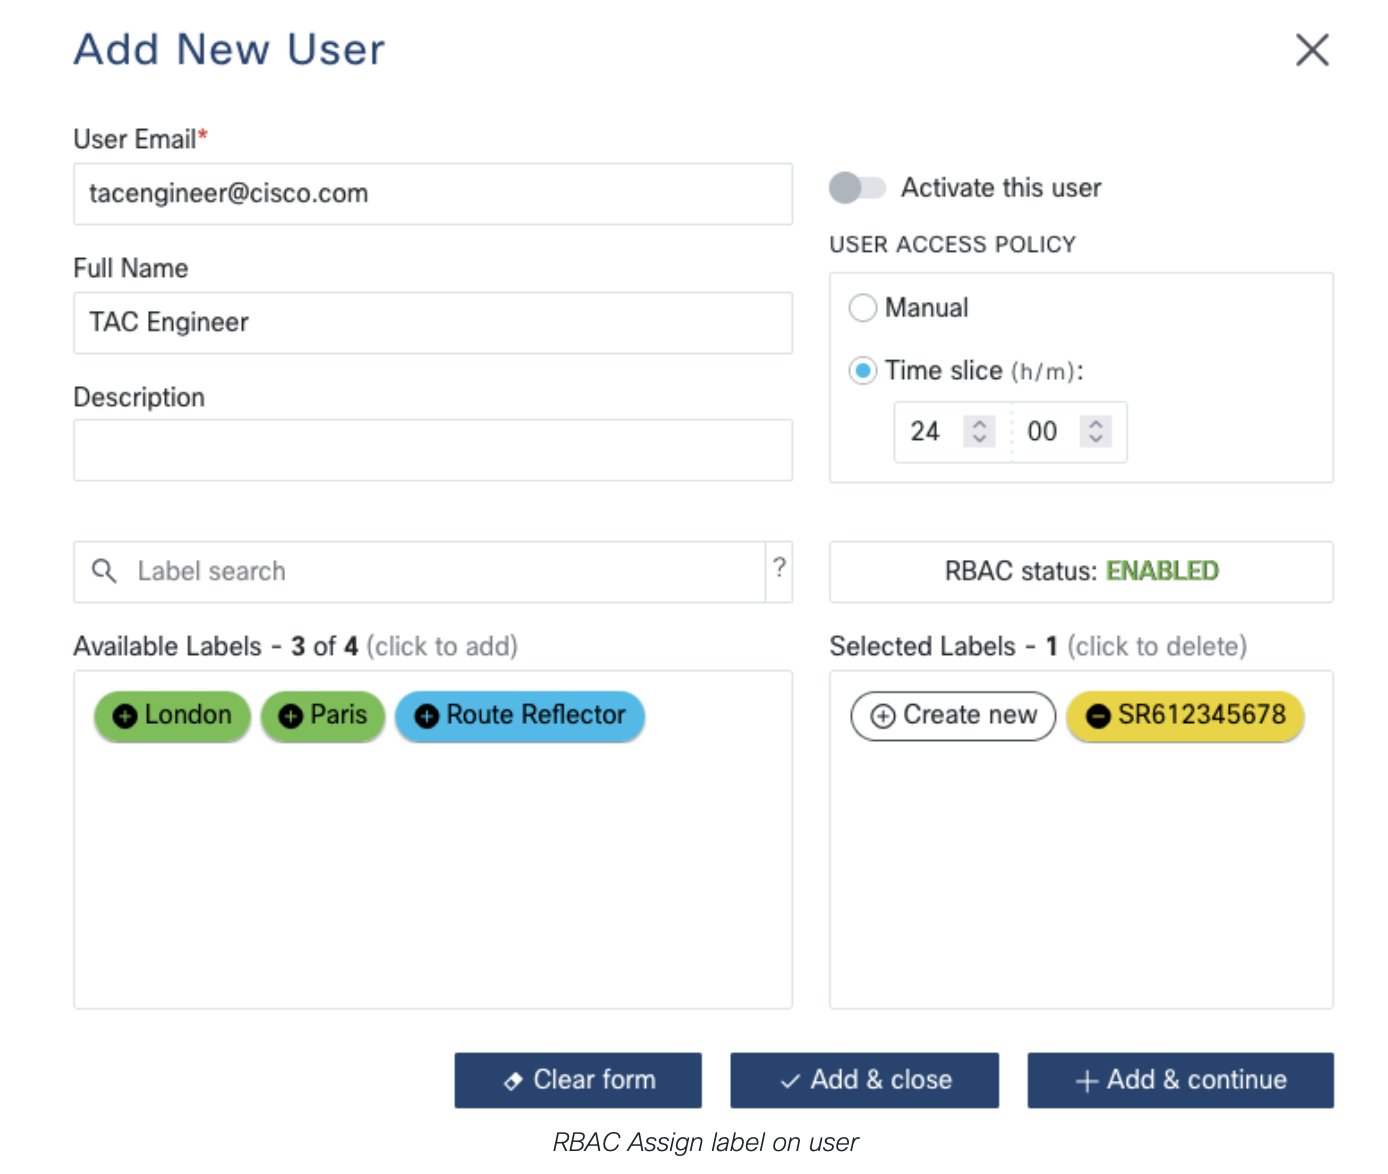
A finalized user list with RBAC may look like below:

Assigning labels to a device
To assign a label to a device, go to the device inventory page and either edit an existing device with labels or assign label(s) while adding a new device. On the modal window, you should see the list of available labels. Select the relevant labels (as many as necessary), then click the Update button if you are updating an already existing device or choose from the Add & Close or Add & Continue buttons if it is a new device and the action will be taken.
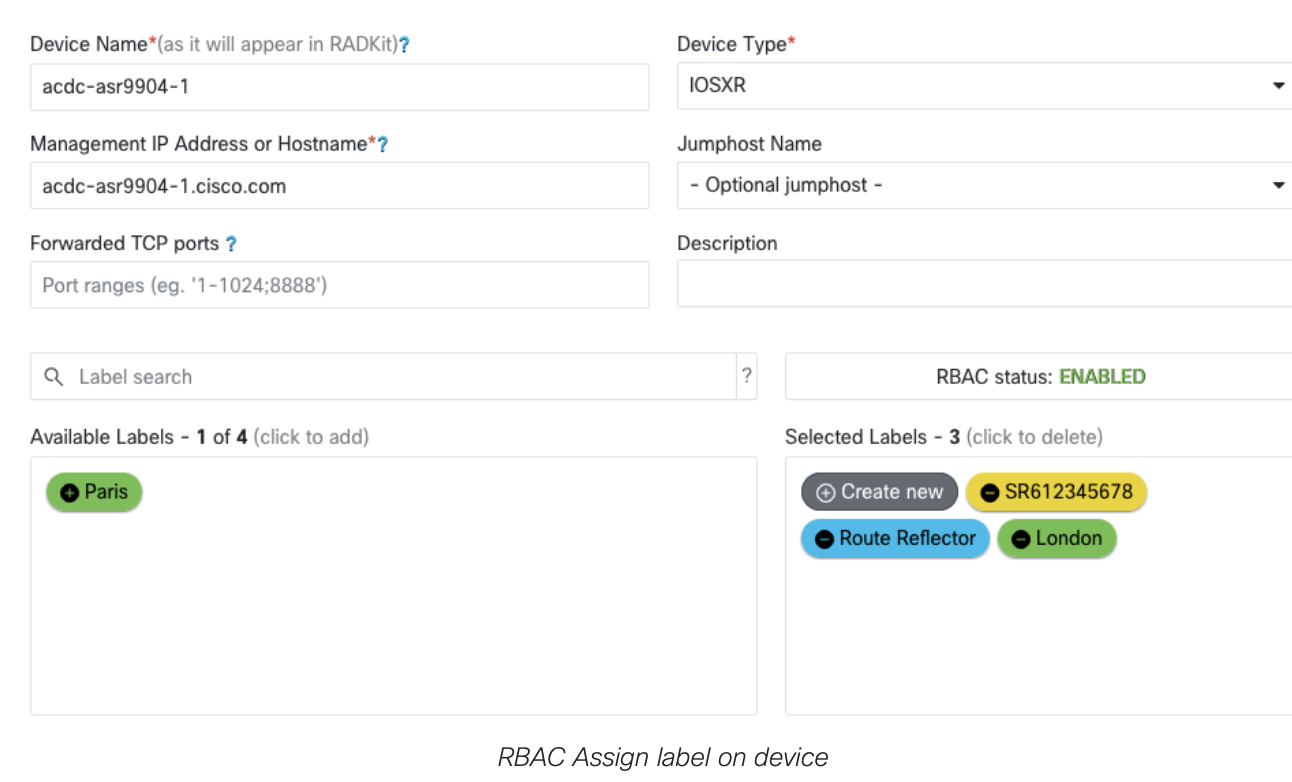
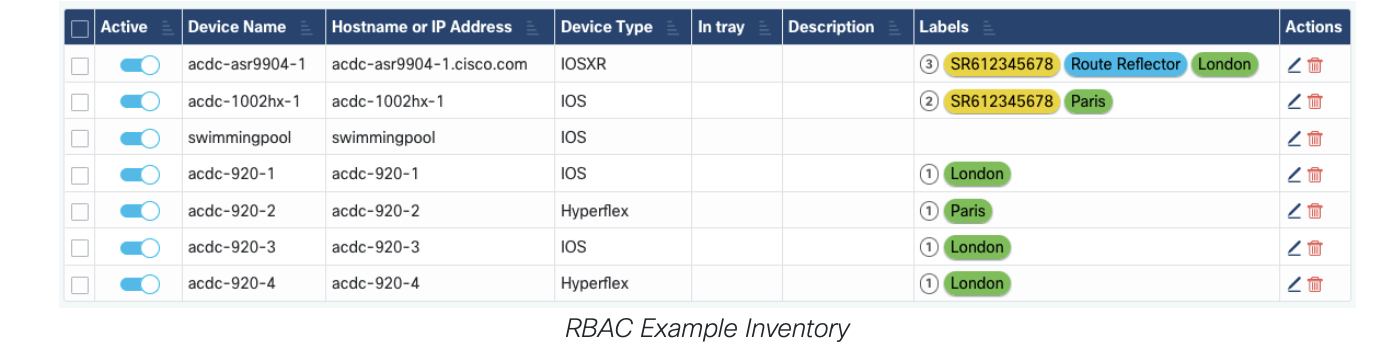
A finalized device list with RBAC may look like below:
Note
All the above UI operations can also be performed over the network and in bulk using CLI or API (see Control CLI and Control API reference for more information).